This guide takes you through Pleadit end to end: set up your profile, draft a document, and fill a form. About ten minutes from install to an exported PDF.
Set up
- Activate. Enter your license key, accept the terms, and click Activate License.
- Set up your profile first. Go to Settings, then Lawyer Settings, and enter your attorney name (firm, address, bar number, logo, and signature are optional). This auto-populates the caption content of your documents and forms, so it's worth doing once up front.
- Optional: to jump straight into what Pleadit can do, open a template document at Dashboard → Templates and see how a document can leverage any variable you'd like.
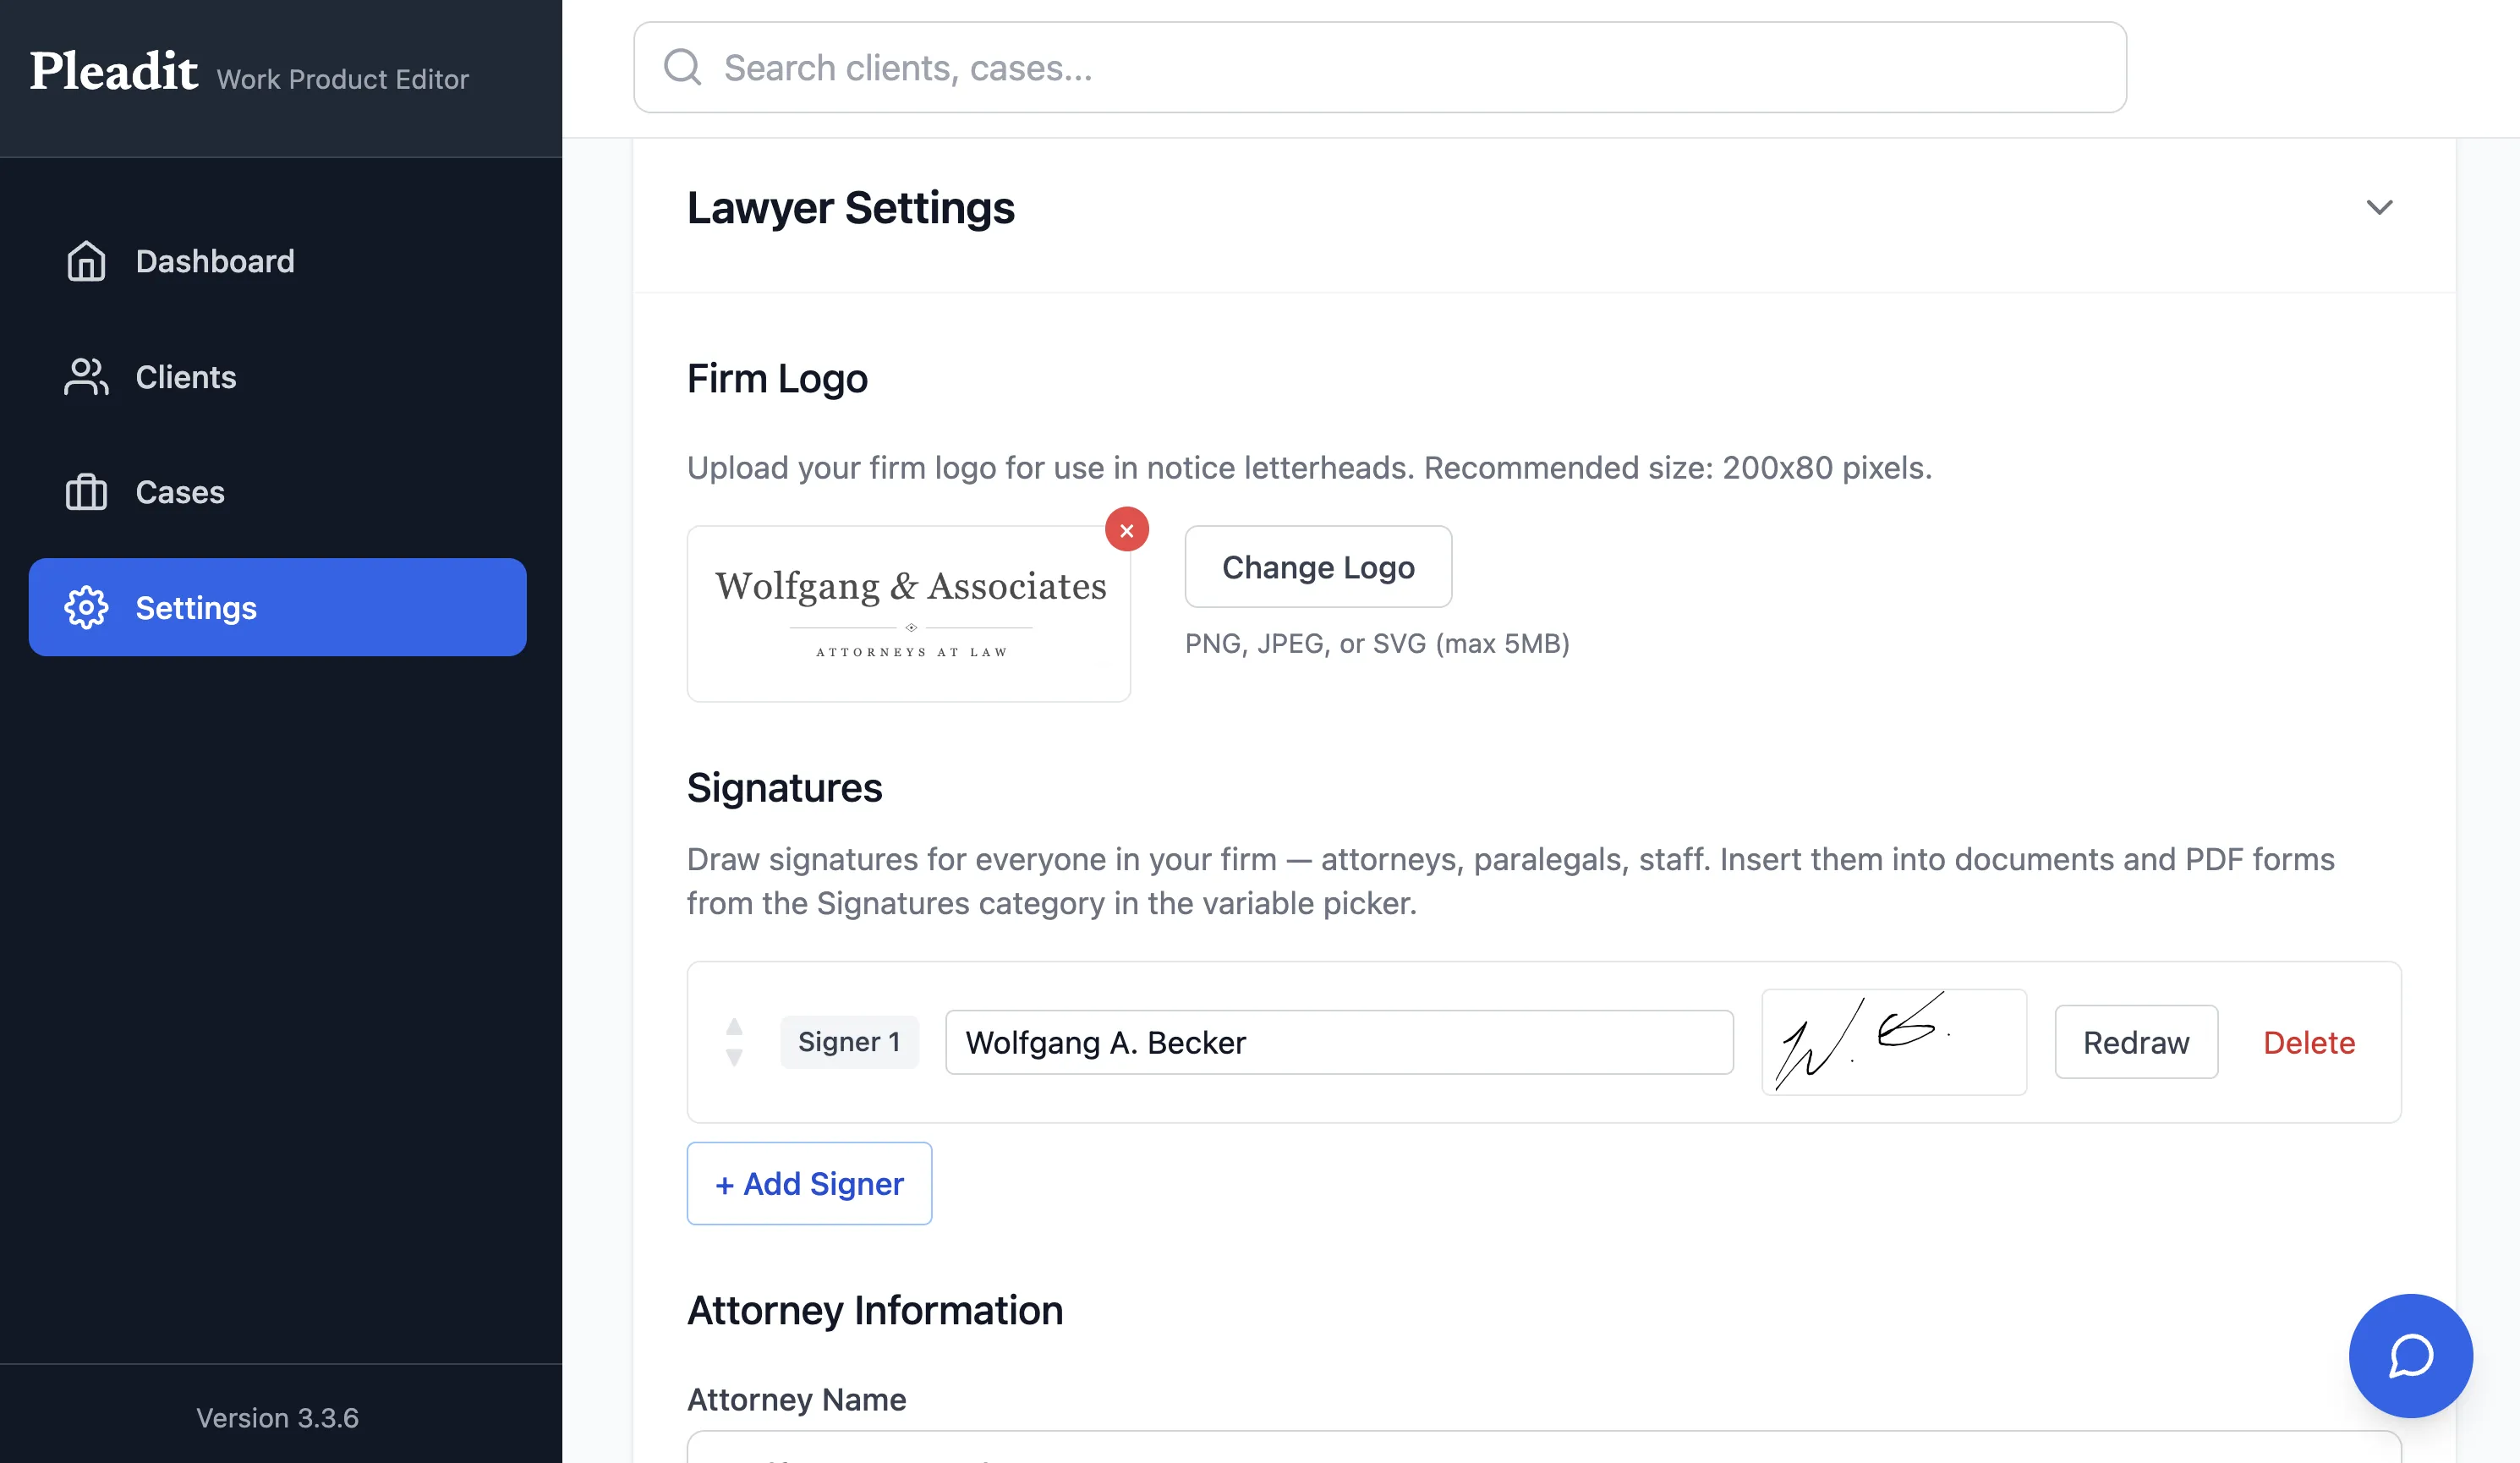
Settings → Lawyer Settings, where your firm logo, signatures, and attorney details live. - Add a client. Go to Clients, then Add Client. Fill out any fields you want to auto-populate in your documents and forms.
- Create a case. Go to Cases, then New Case. Pick the client, choose a case type, and fill out any case details (they flow into your captions).
- Add your evidence. Open the case and go to Evidence. Drag PDFs or images into any folder, or create your own folders. This is your case-level evidence locker, and you can cite these files directly in any document.
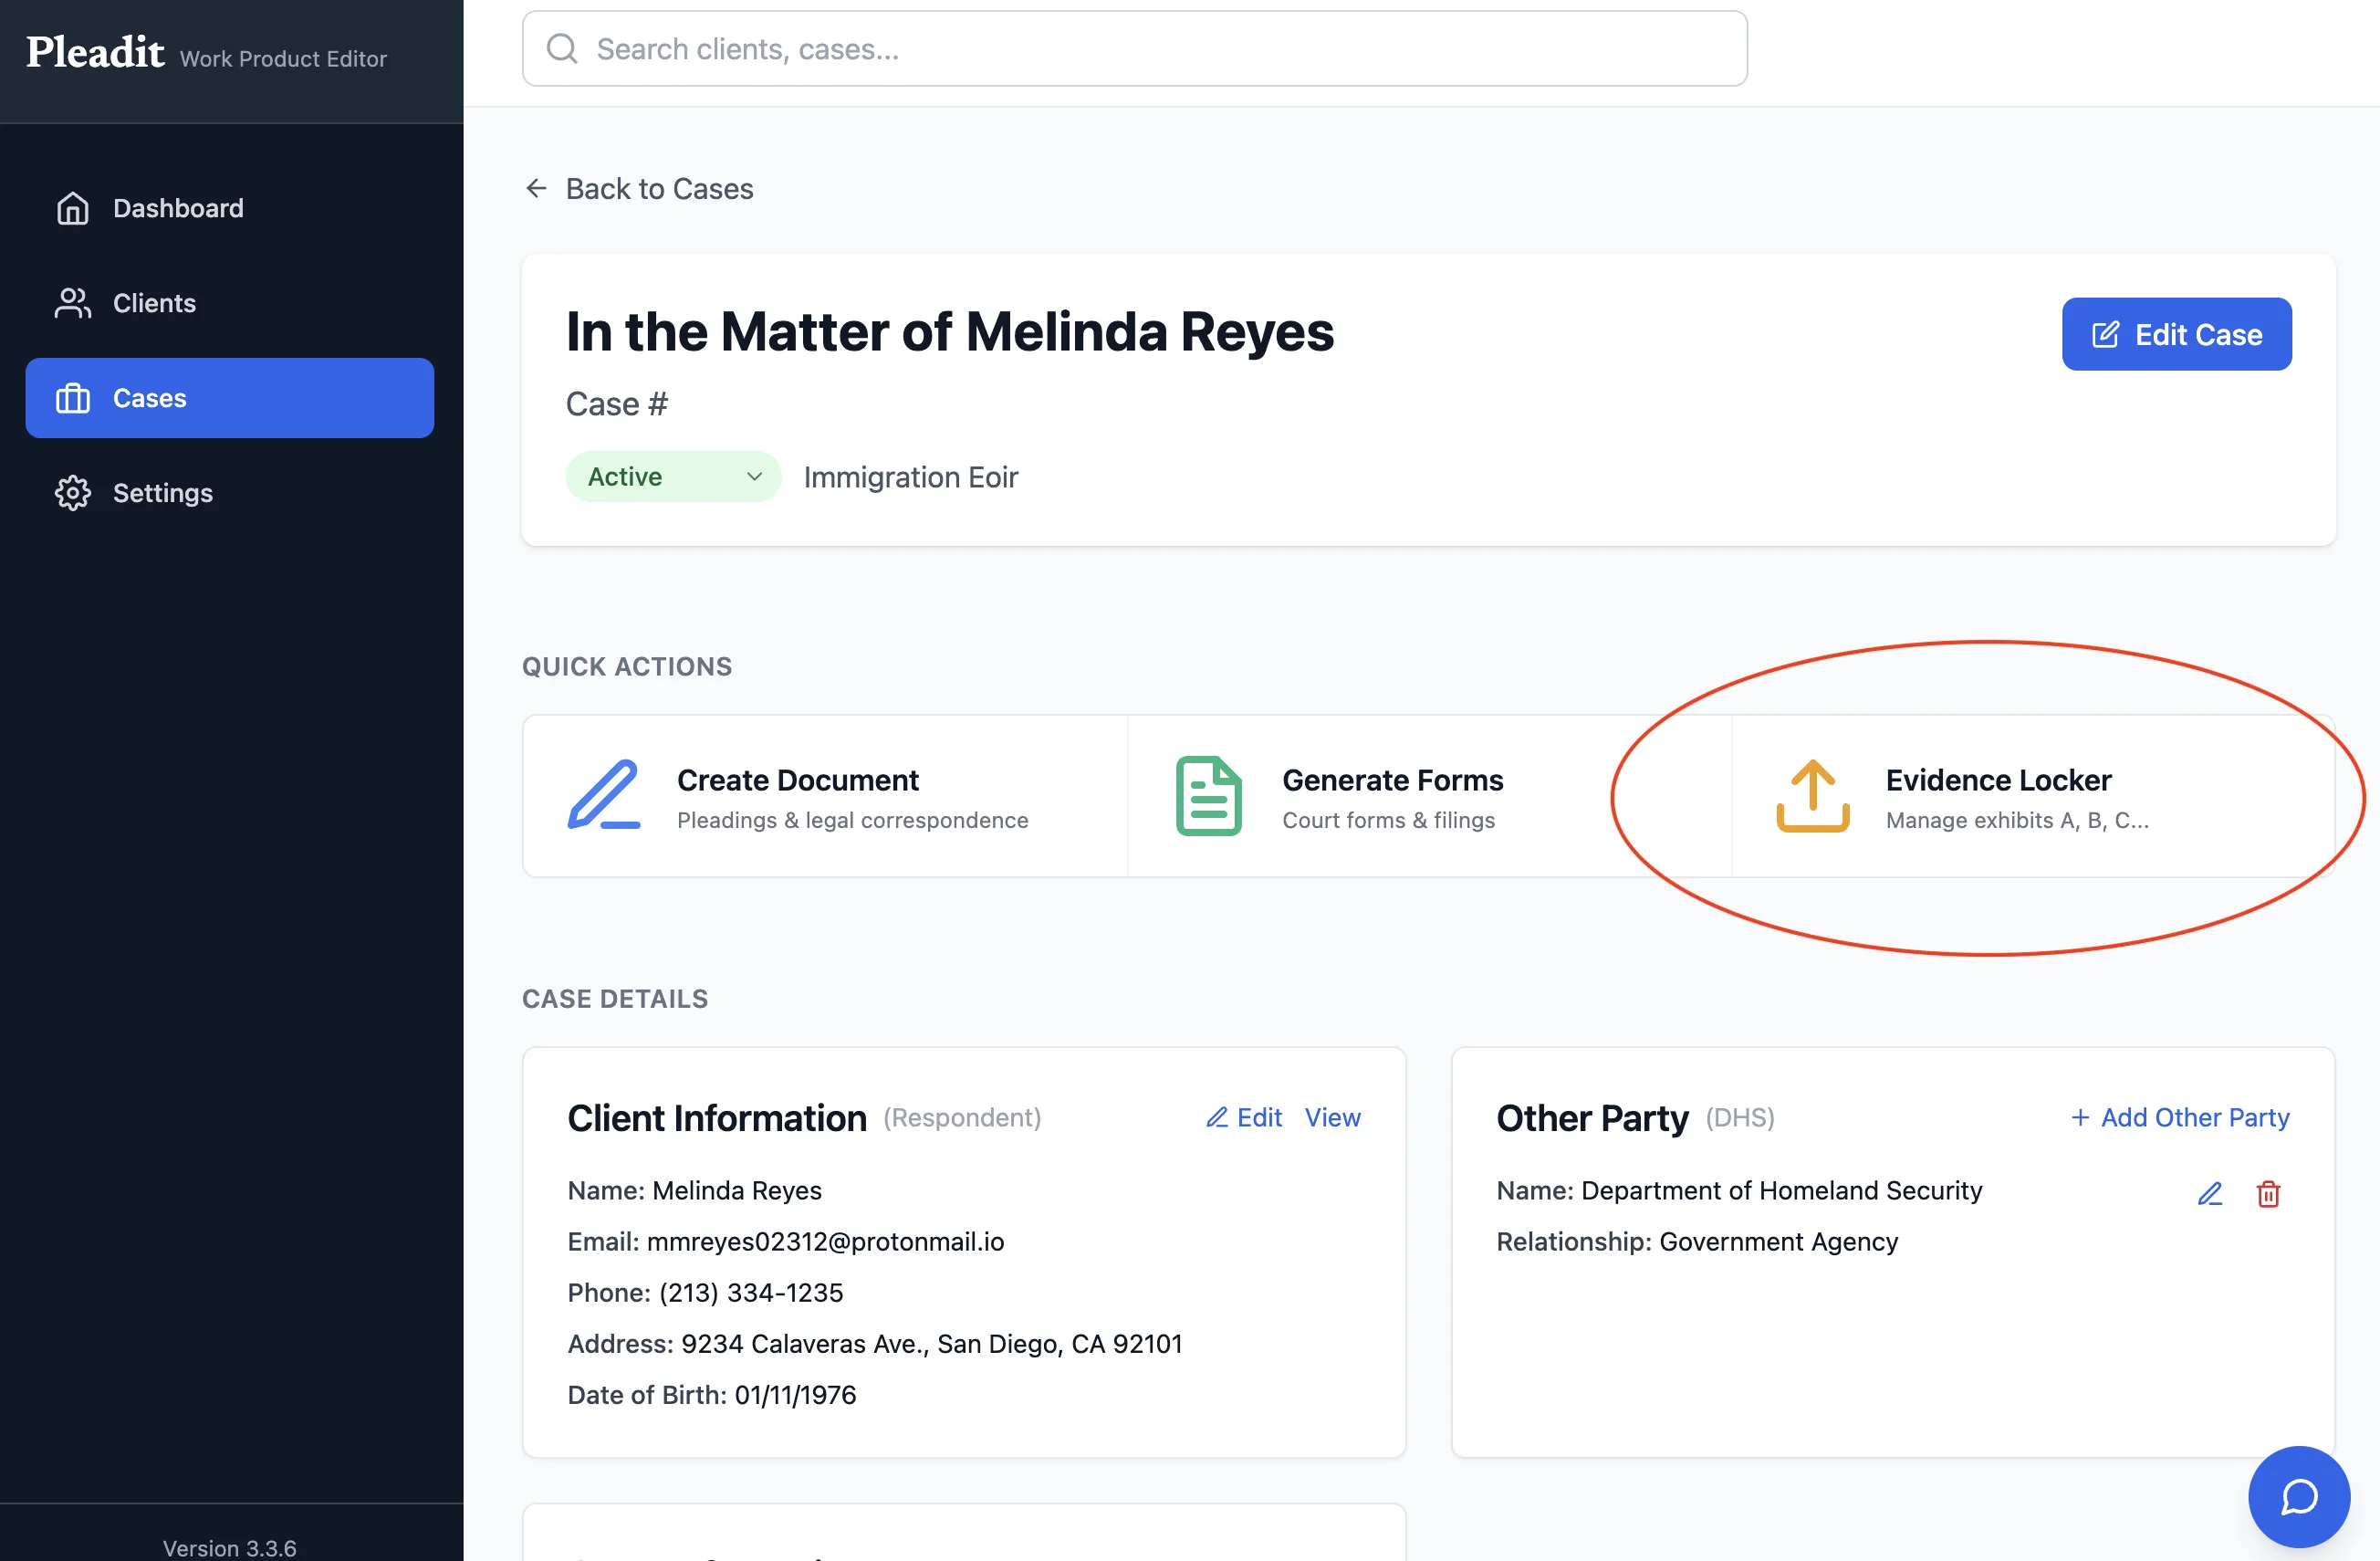
The case evidence locker: drag files into folders, then cite them directly in any document.
Documents
Documents are your free-form filings - pleadings, briefs and motions, and letters or notices. Draft one, then export it to PDF.
Draft a document
- From the case, click Create Document and choose Pleading (28-Line), Brief / Motion, or Letter / Notice. Give it a title and start drafting. Or choose a template from the top-left of the screen and watch it auto-populate.
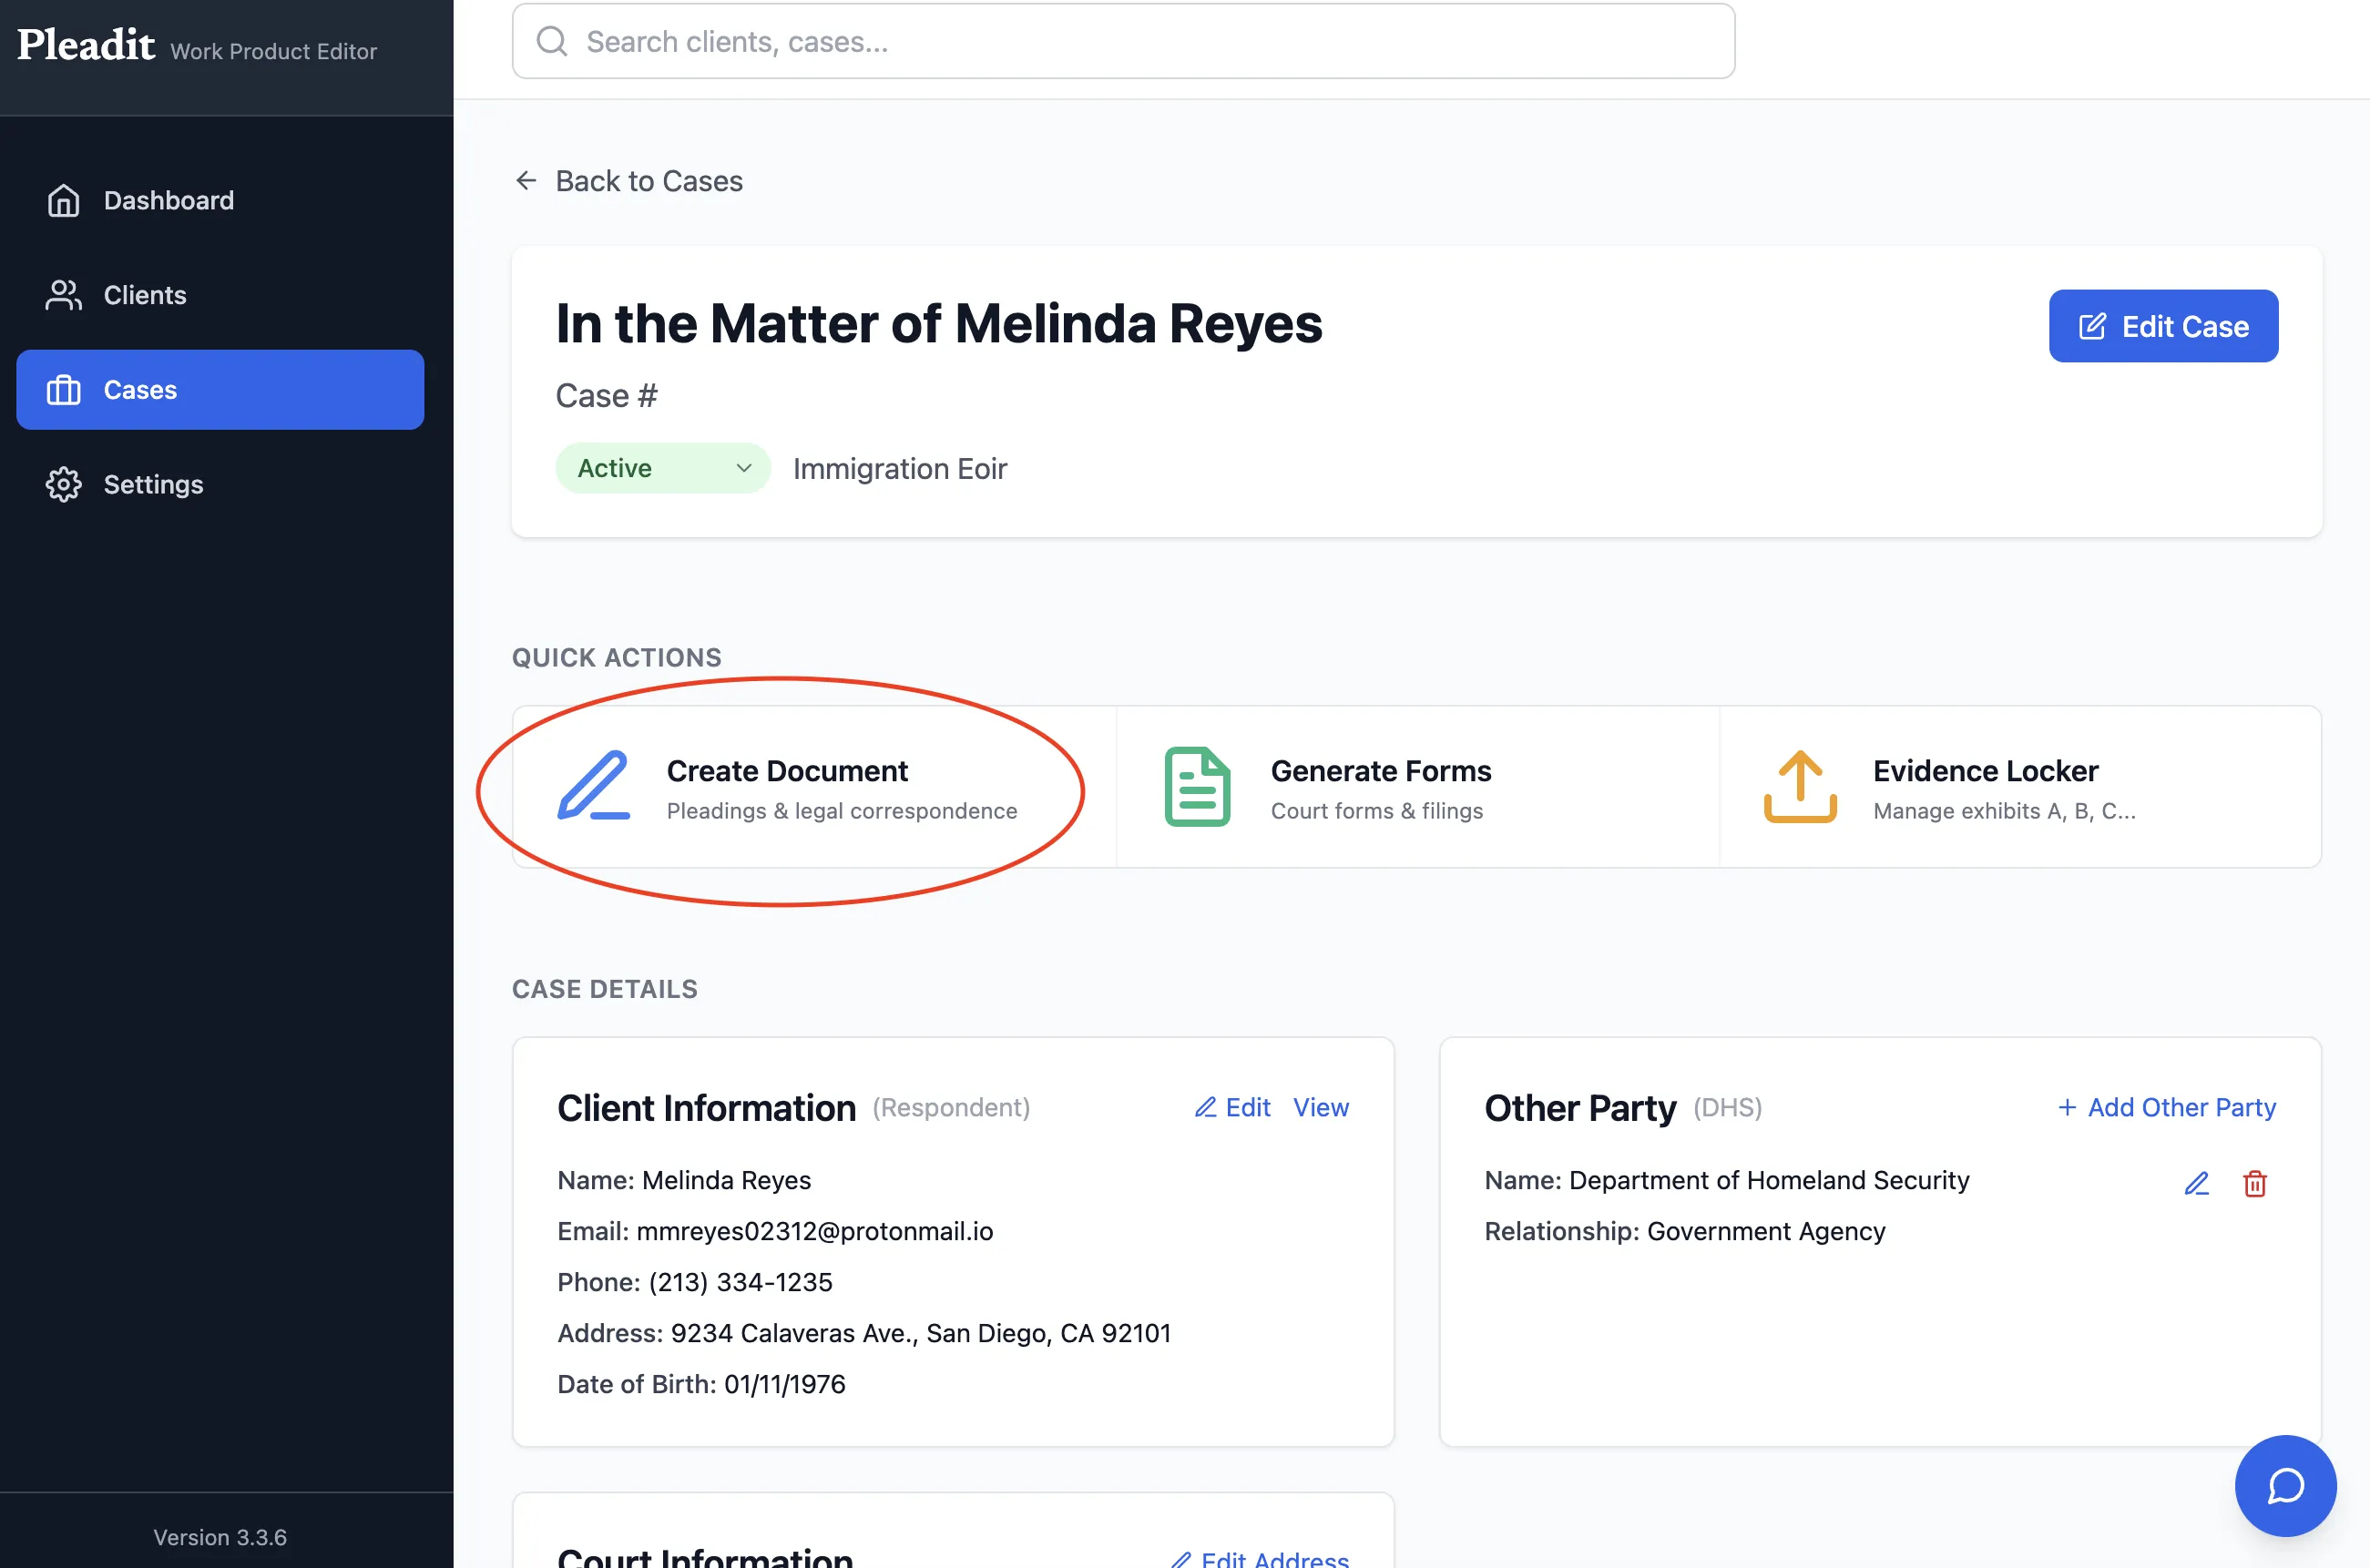
Create Document: choose Pleading, Brief / Motion, or Letter / Notice. - Insert and format variables. Press Ctrl+Shift+V (Cmd+Shift+V on Mac), or use Insert → Variable, to drop in a variable - it pulls live from your case and client data. Click any inserted variable to open its settings: set the casing (ALL CAPS or Title Case), choose a format where it applies (dates offer several), and lock it to freeze the current value.
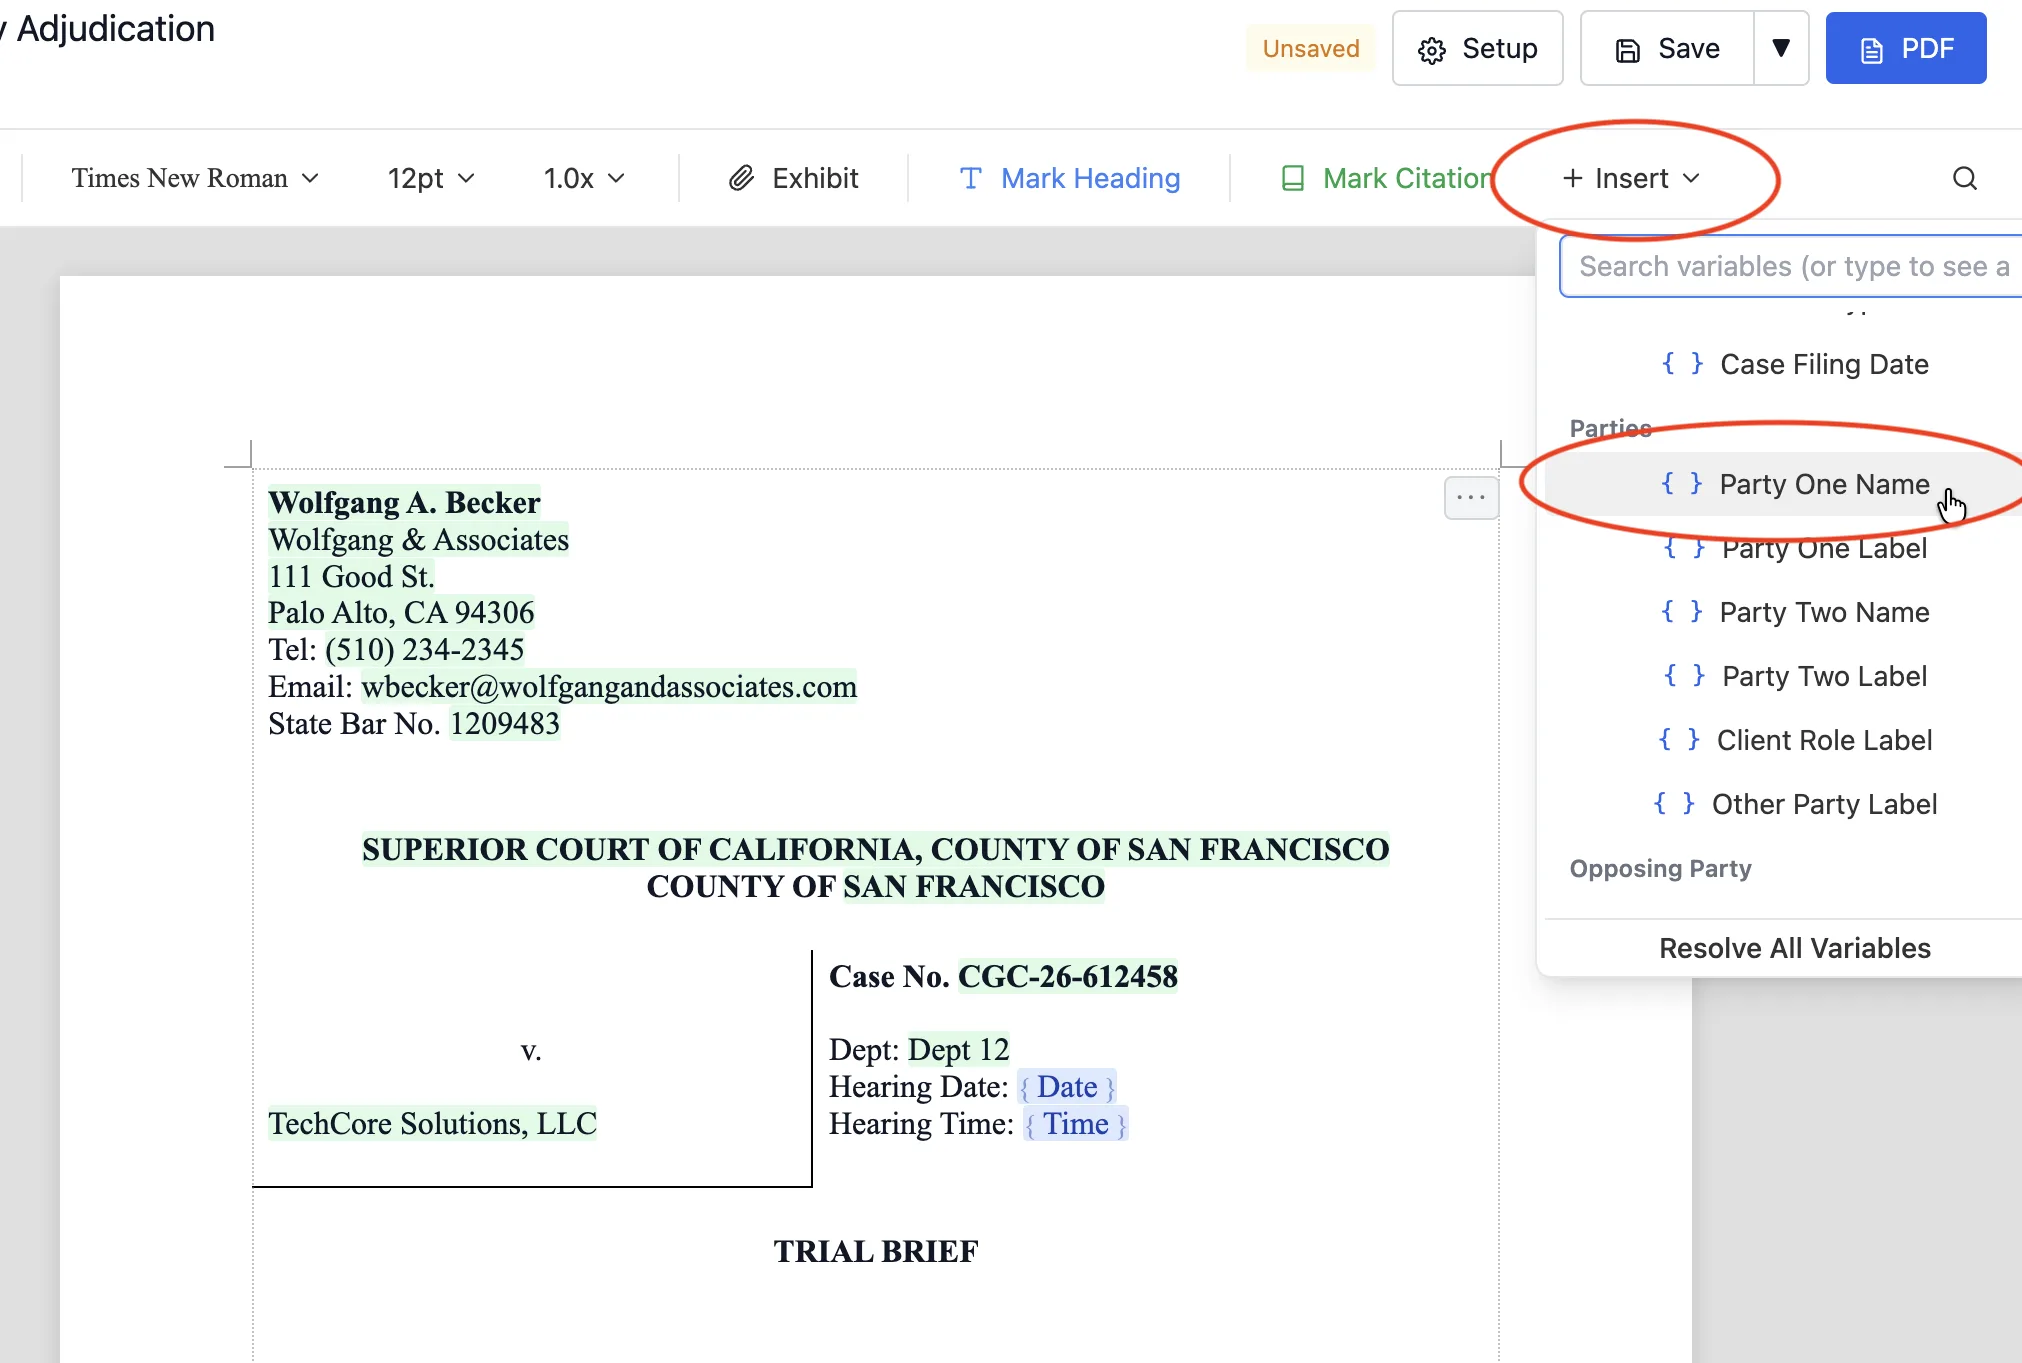
1. Insert a variable from the picker
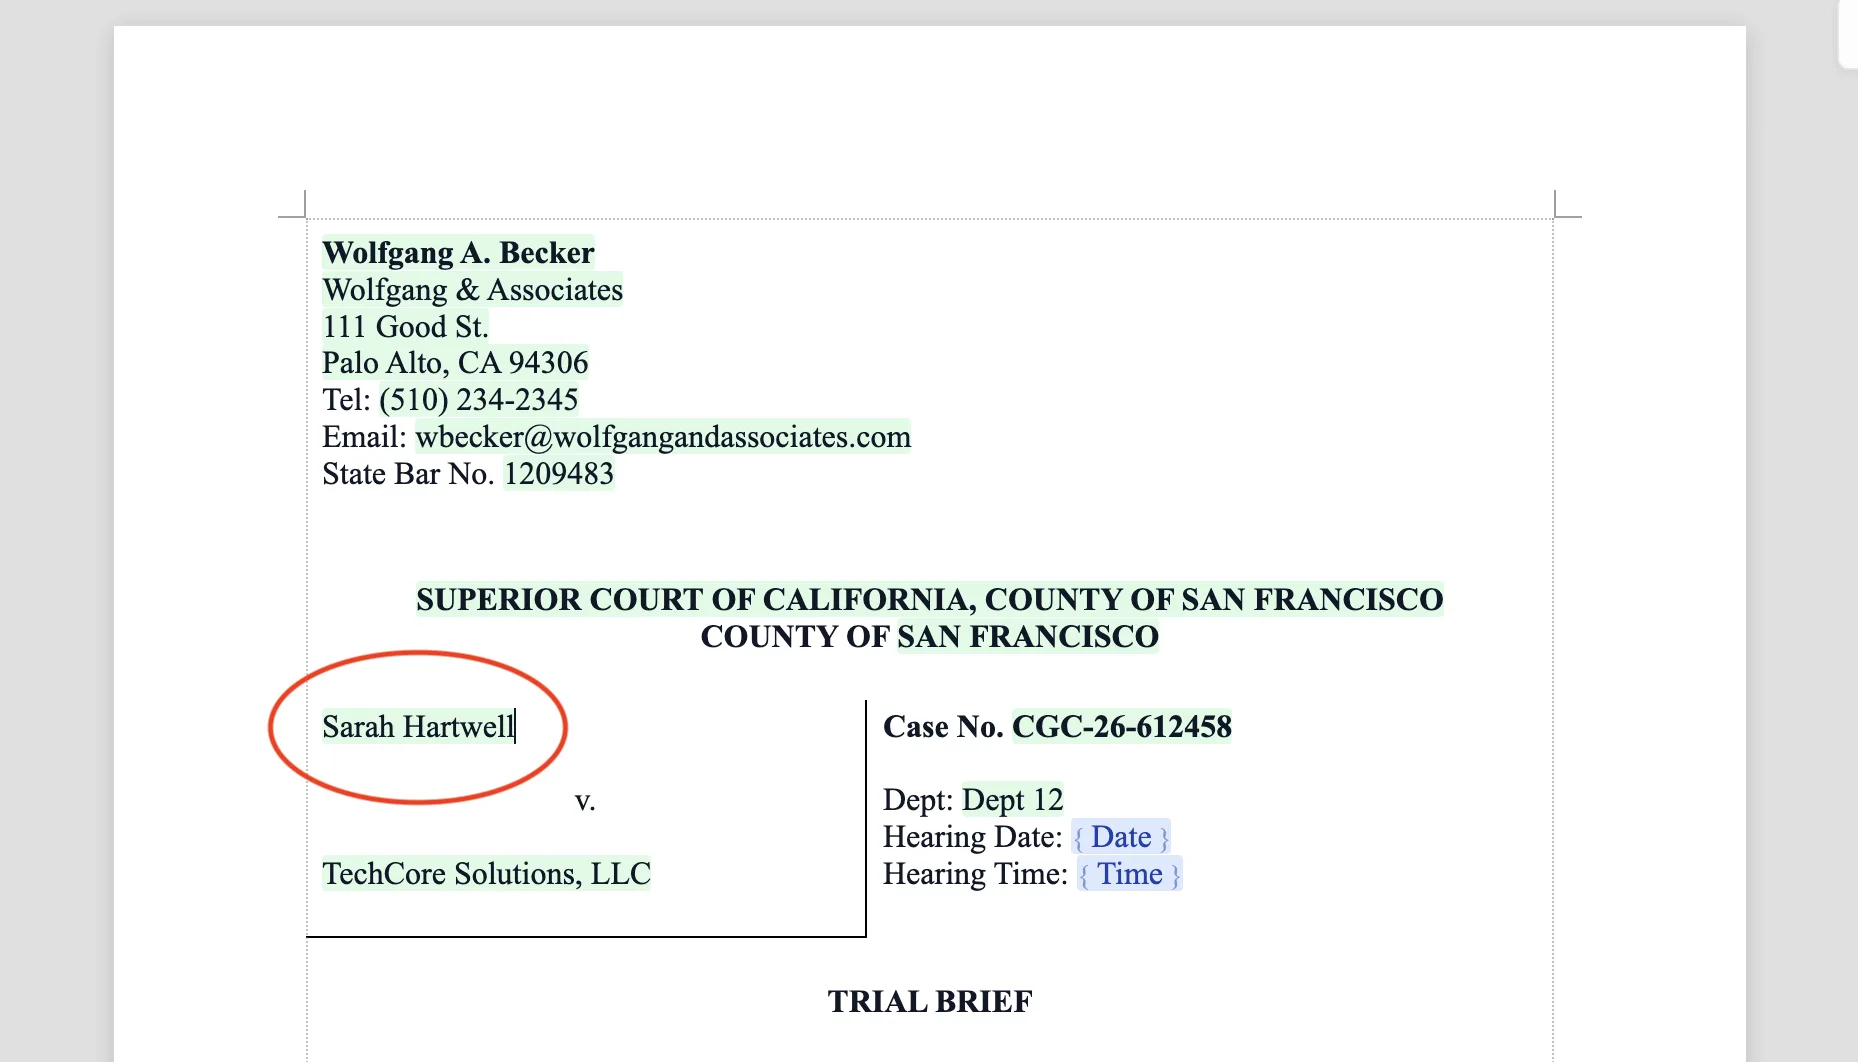
2. It fills in from your case data
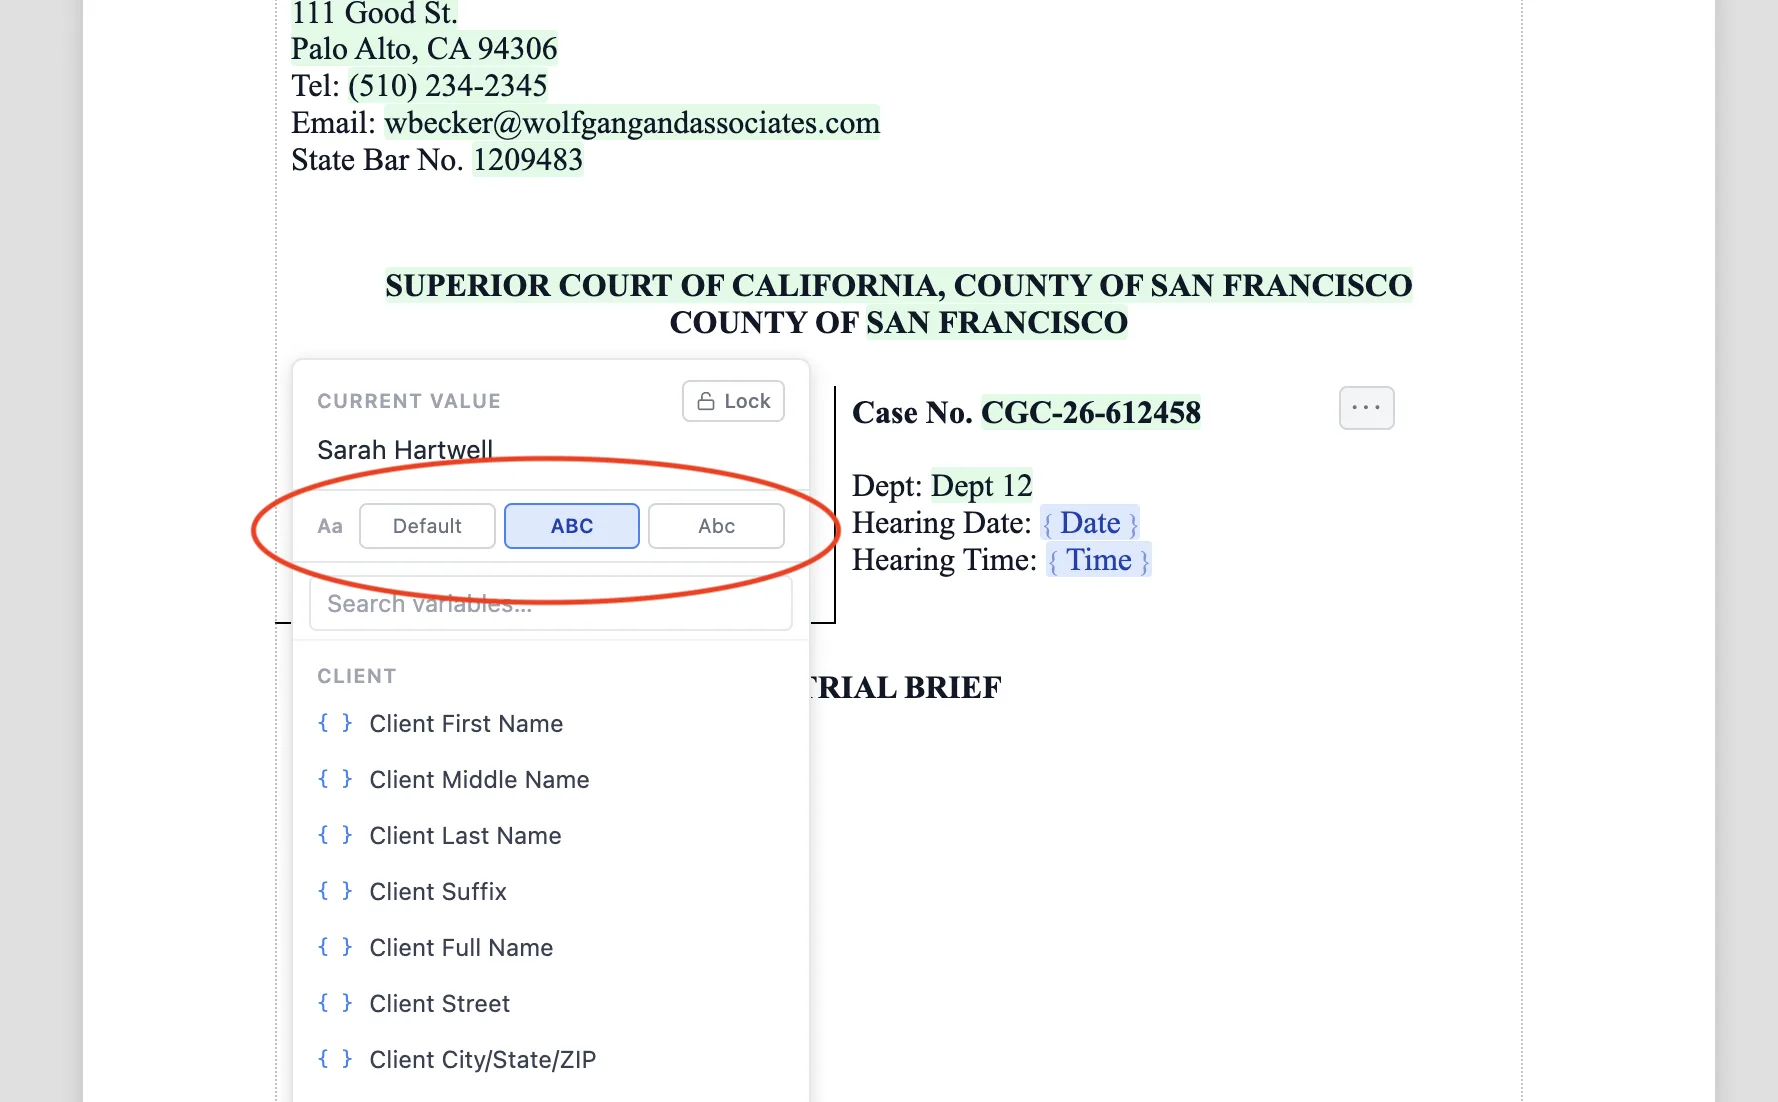
3. Click it to set casing, format, or lock
Insert a variable from the picker, it populates from your case data, and you can click it to set casing, format, or lock. - Cite an exhibit. Put your cursor where you want the reference and press Ctrl+Shift+X (Cmd+Shift+X on Mac). Pick the evidence file, and Pleadit assigns the exhibit letter and inserts the reference. Reorder exhibits later and every reference updates itself.
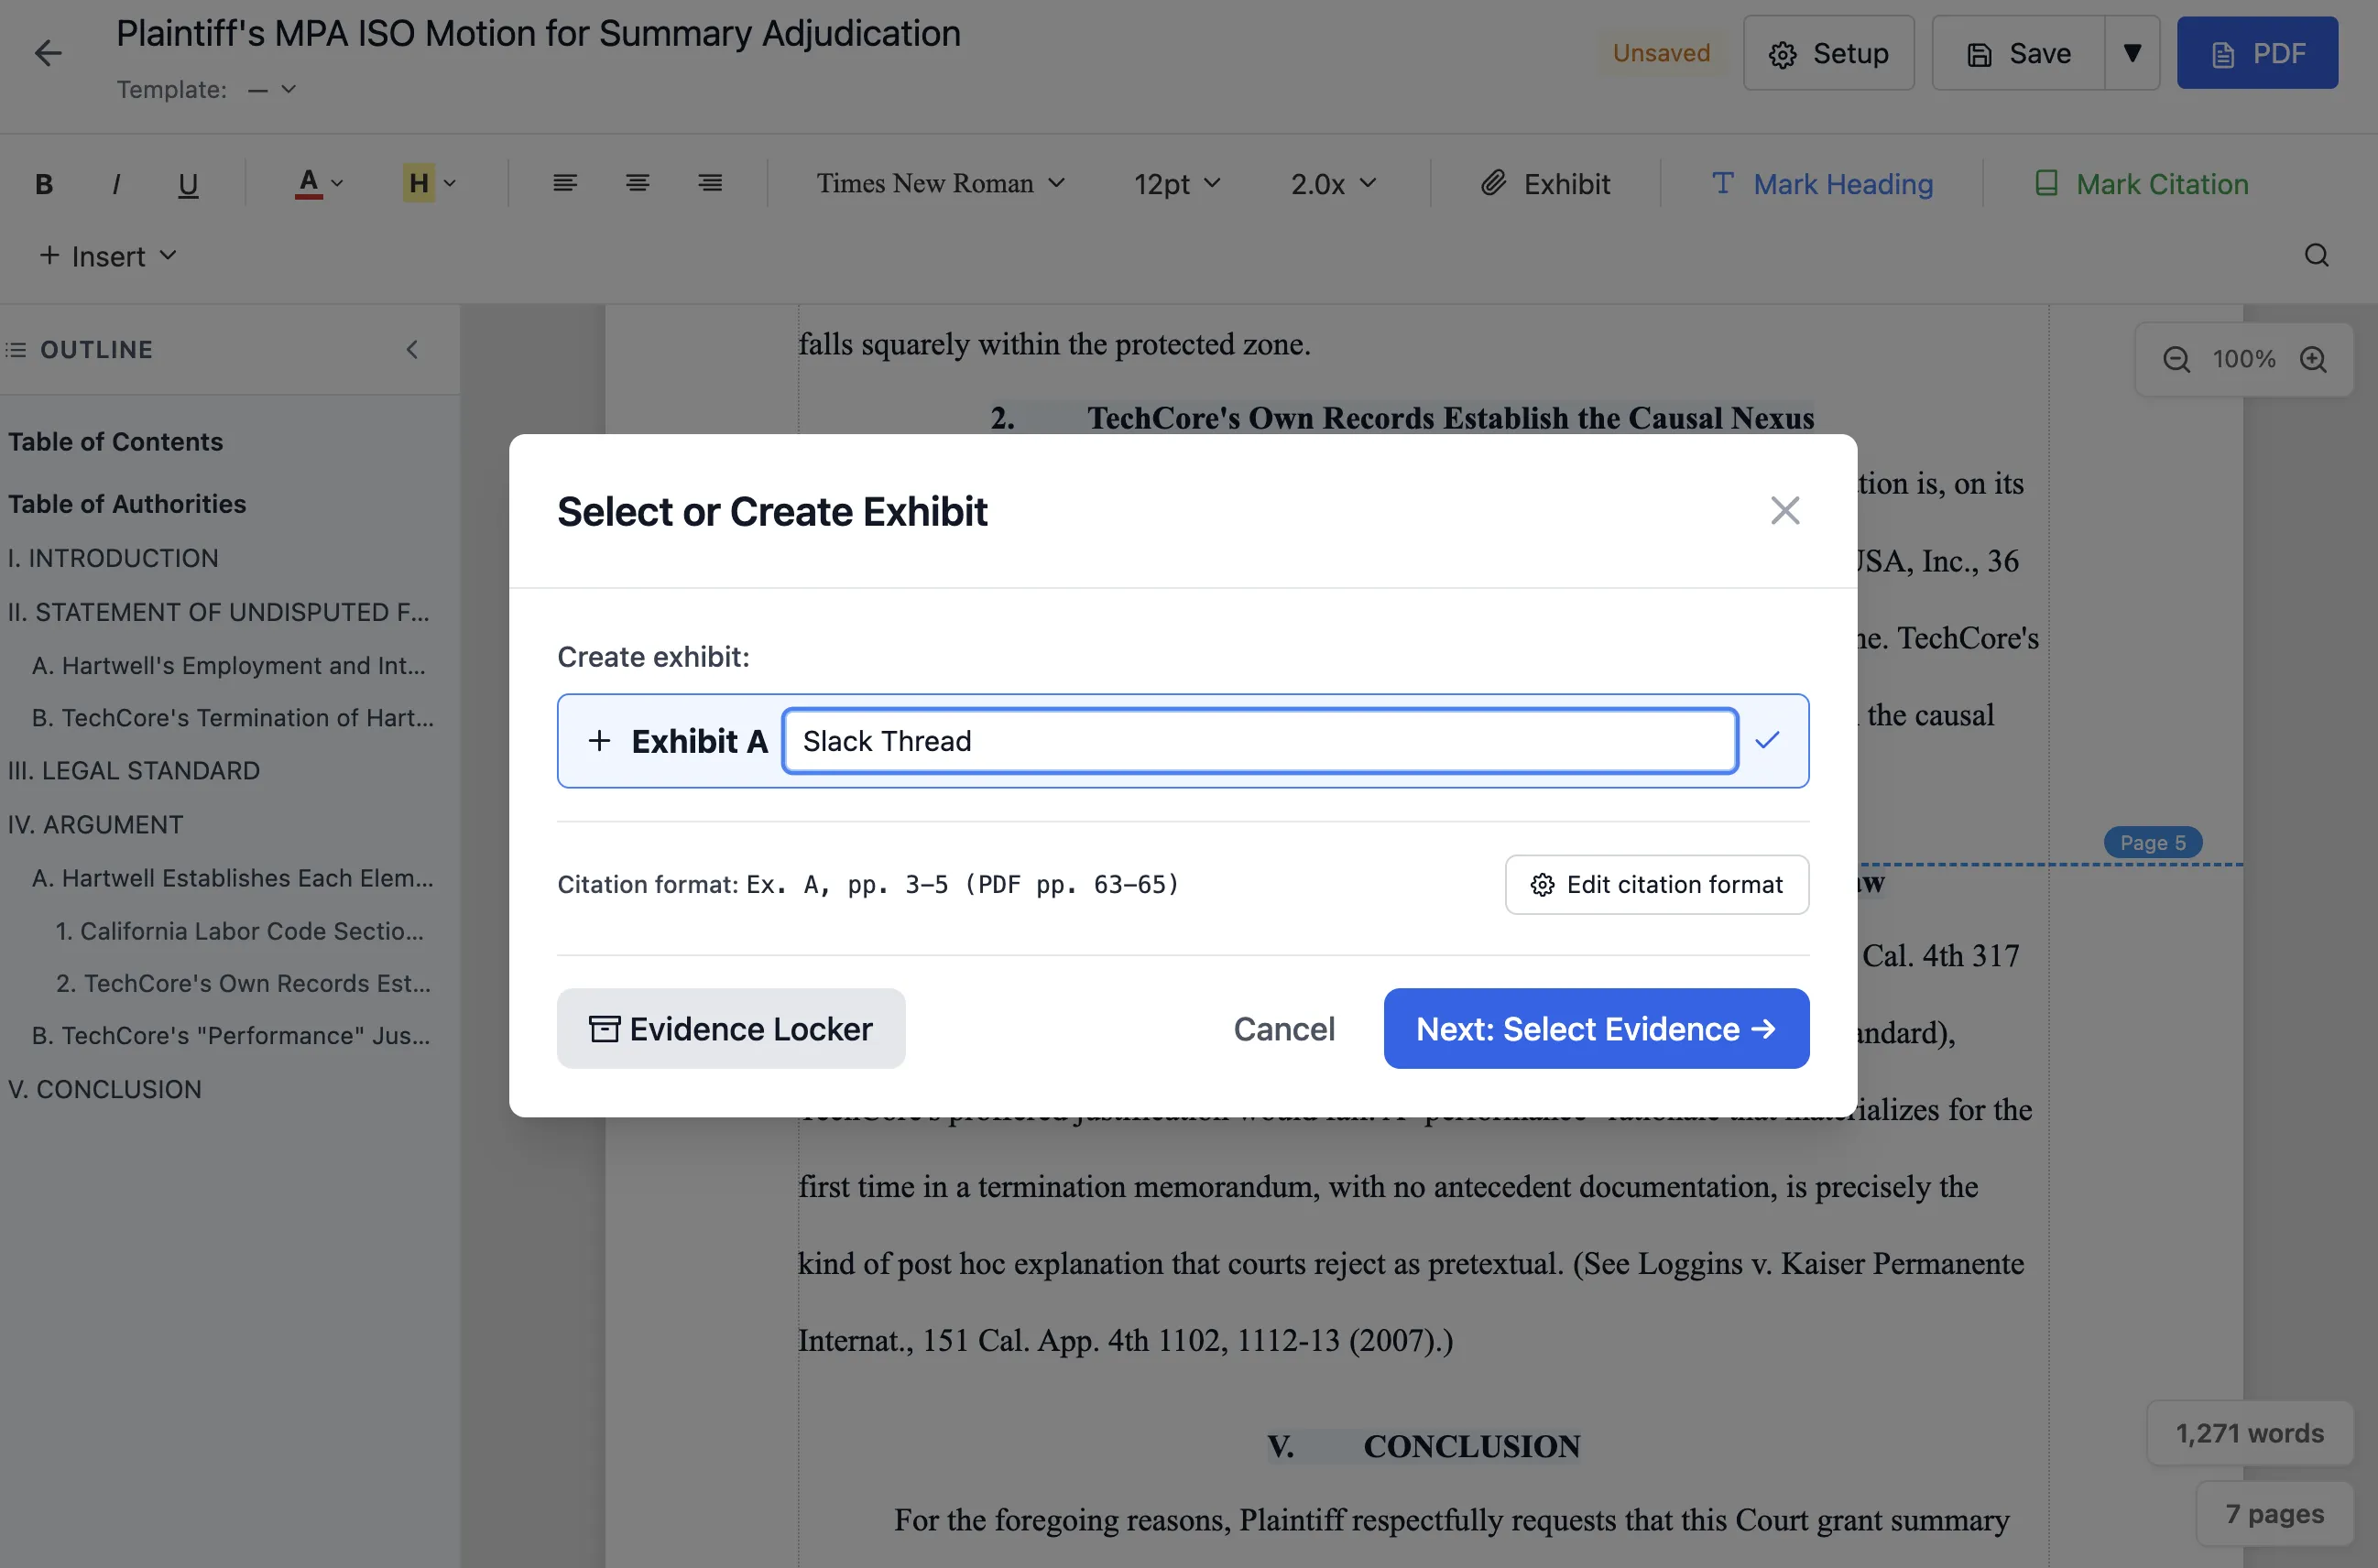
1. Name the exhibit
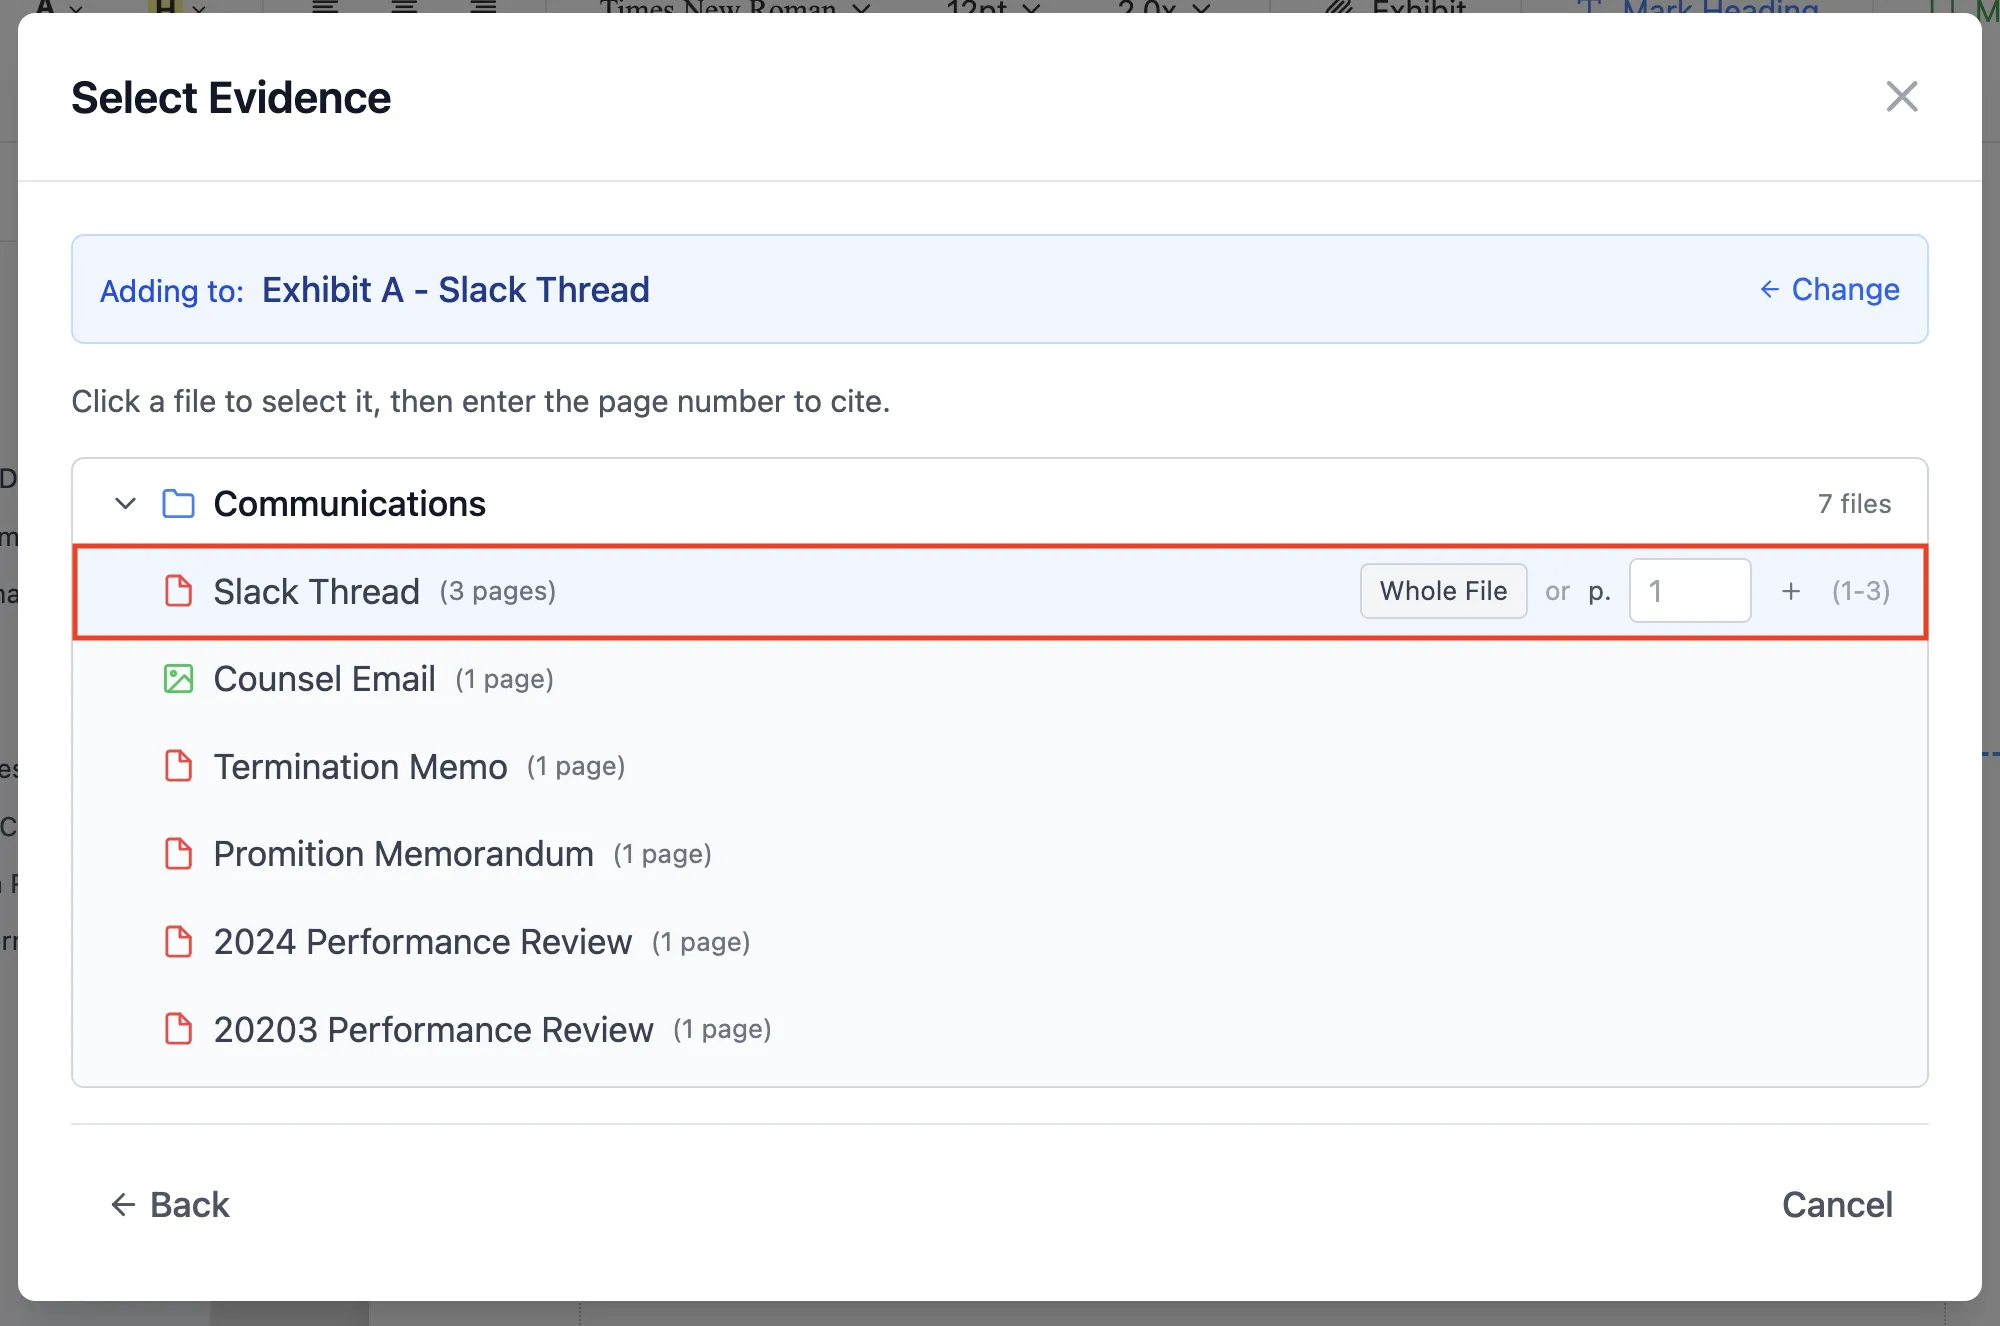
2. Select the file and page
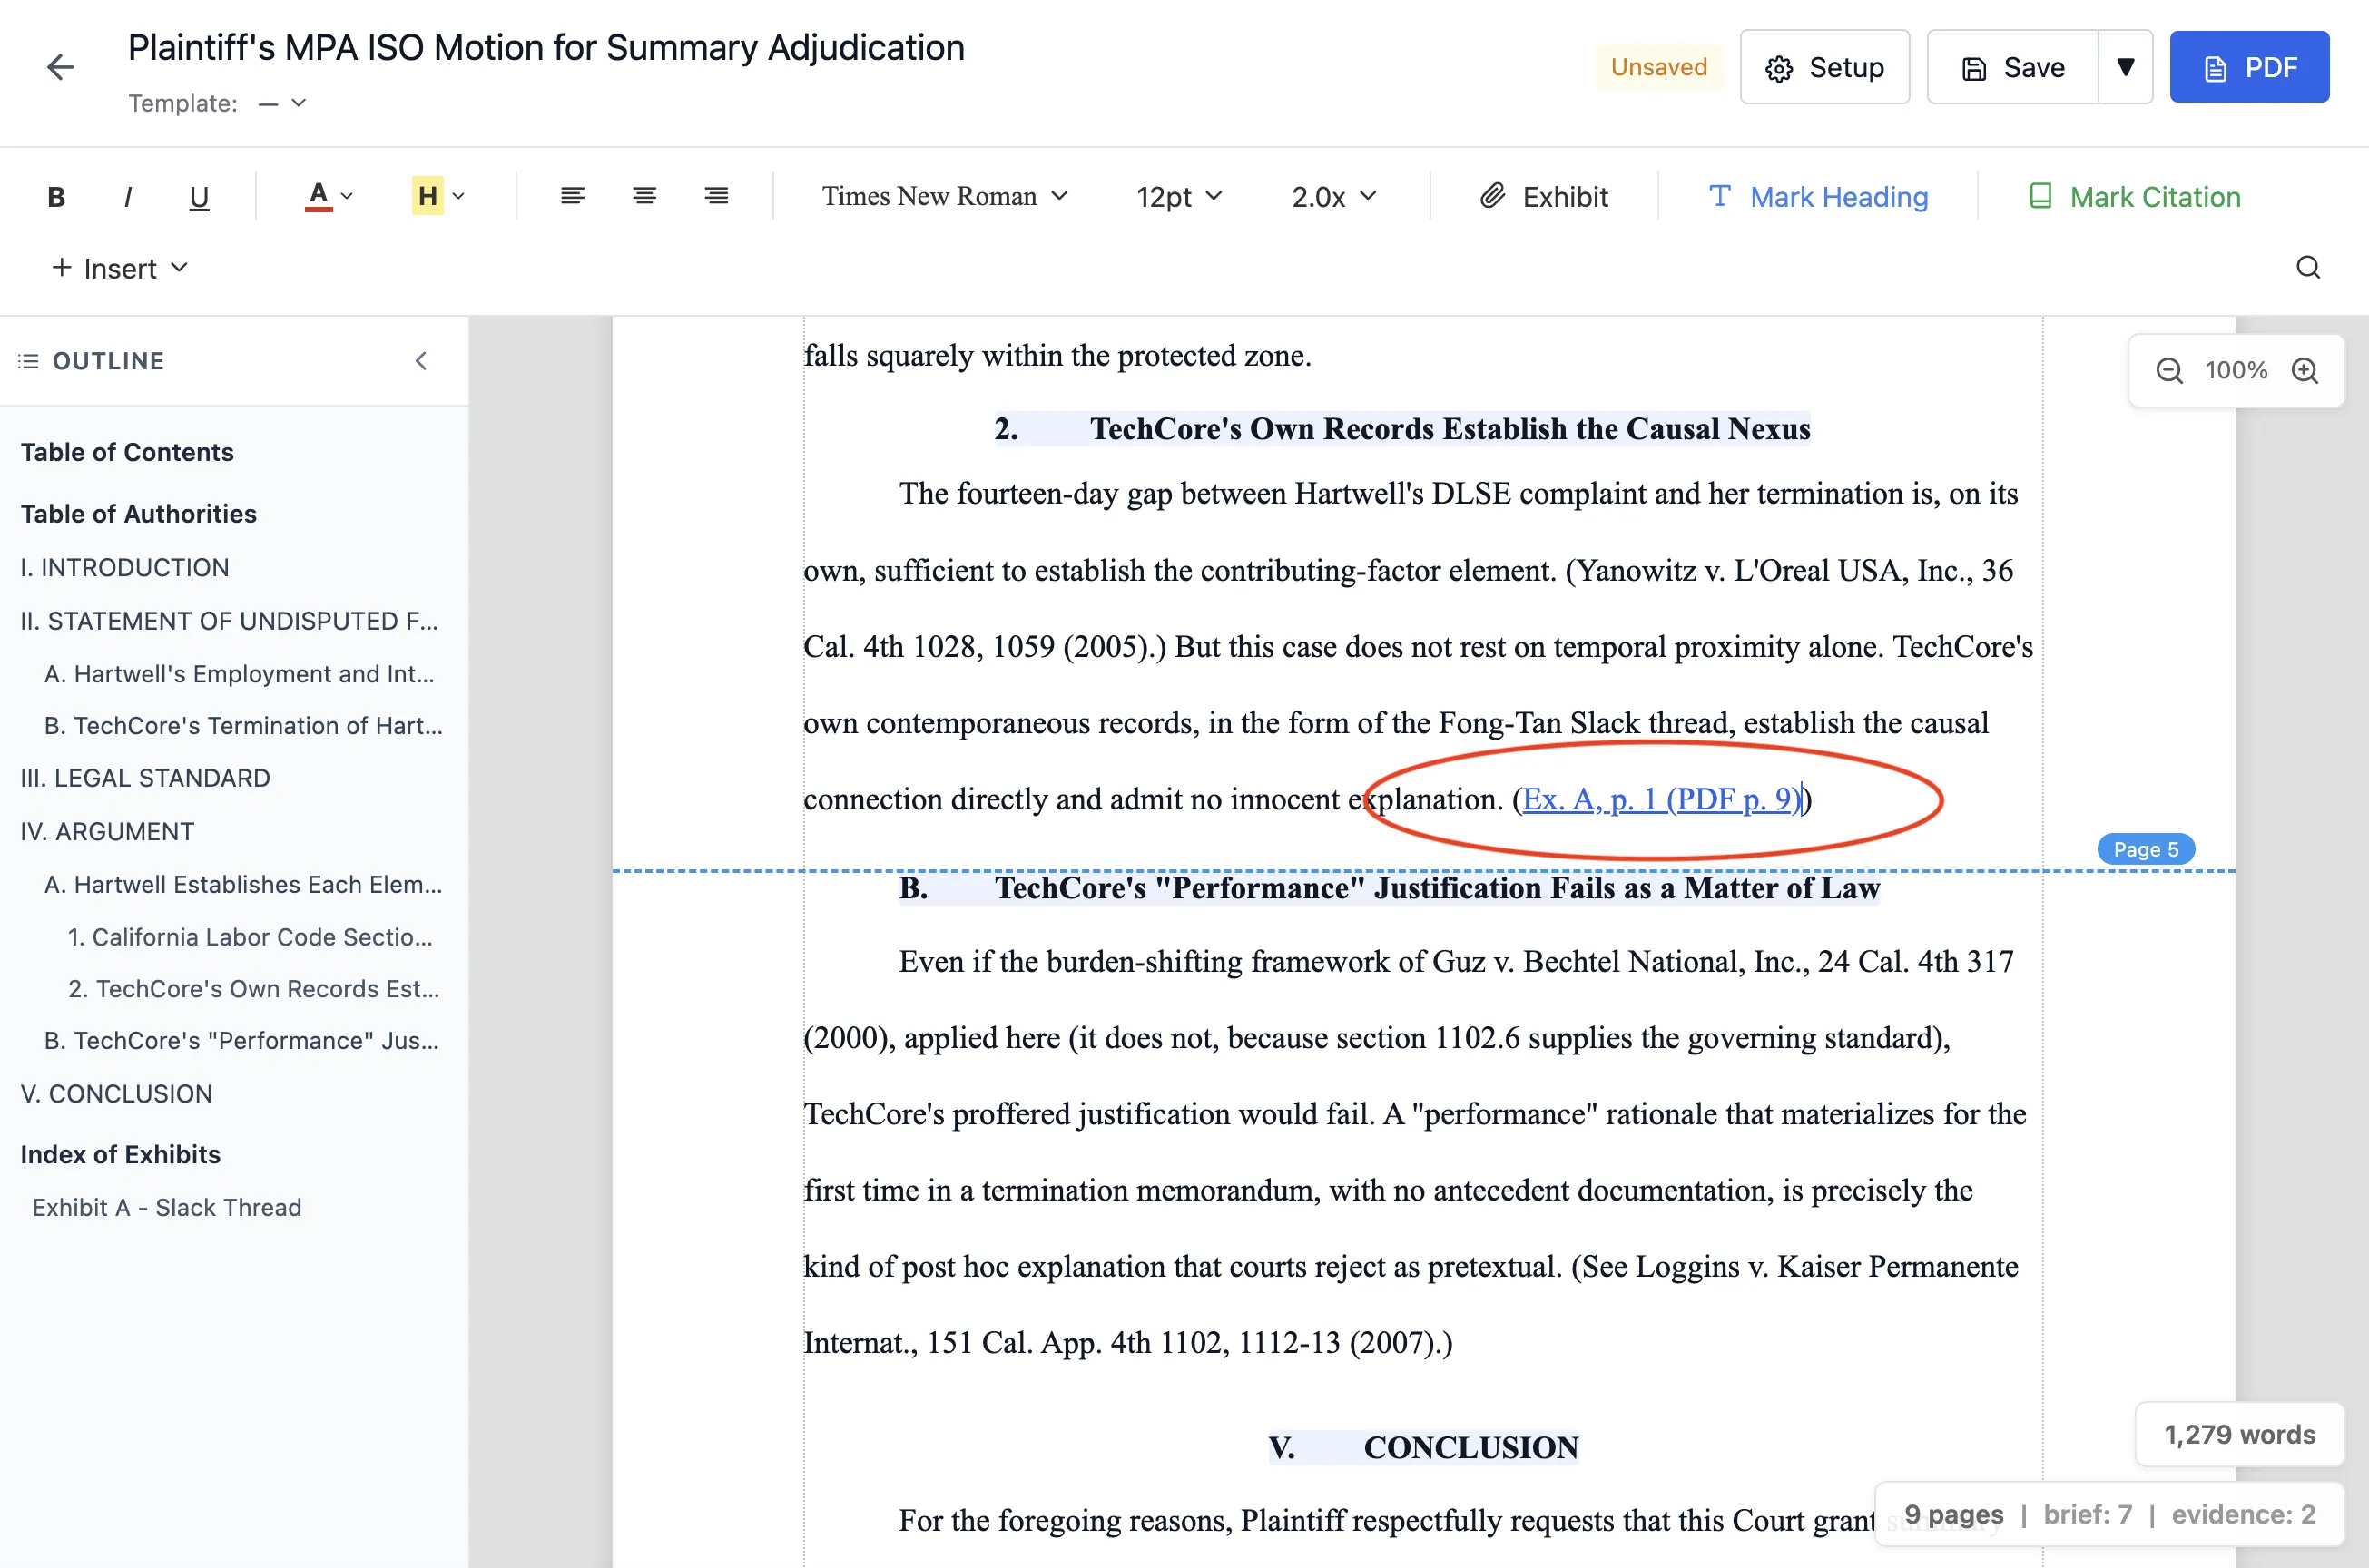
3. The reference, now a live hyperlink
Citing an exhibit, start to finish: name it, attach the evidence and page, and the reference drops in as a live hyperlink. - Build a Table of Authorities (optional). Select a citation, press Ctrl+Shift+C (Cmd+Shift+C on Mac), and give it the title you want shown in the table. Then open the Insert menu and choose Insert TOA to place it; it fills in from your tagged citations and repaginates itself as you edit.
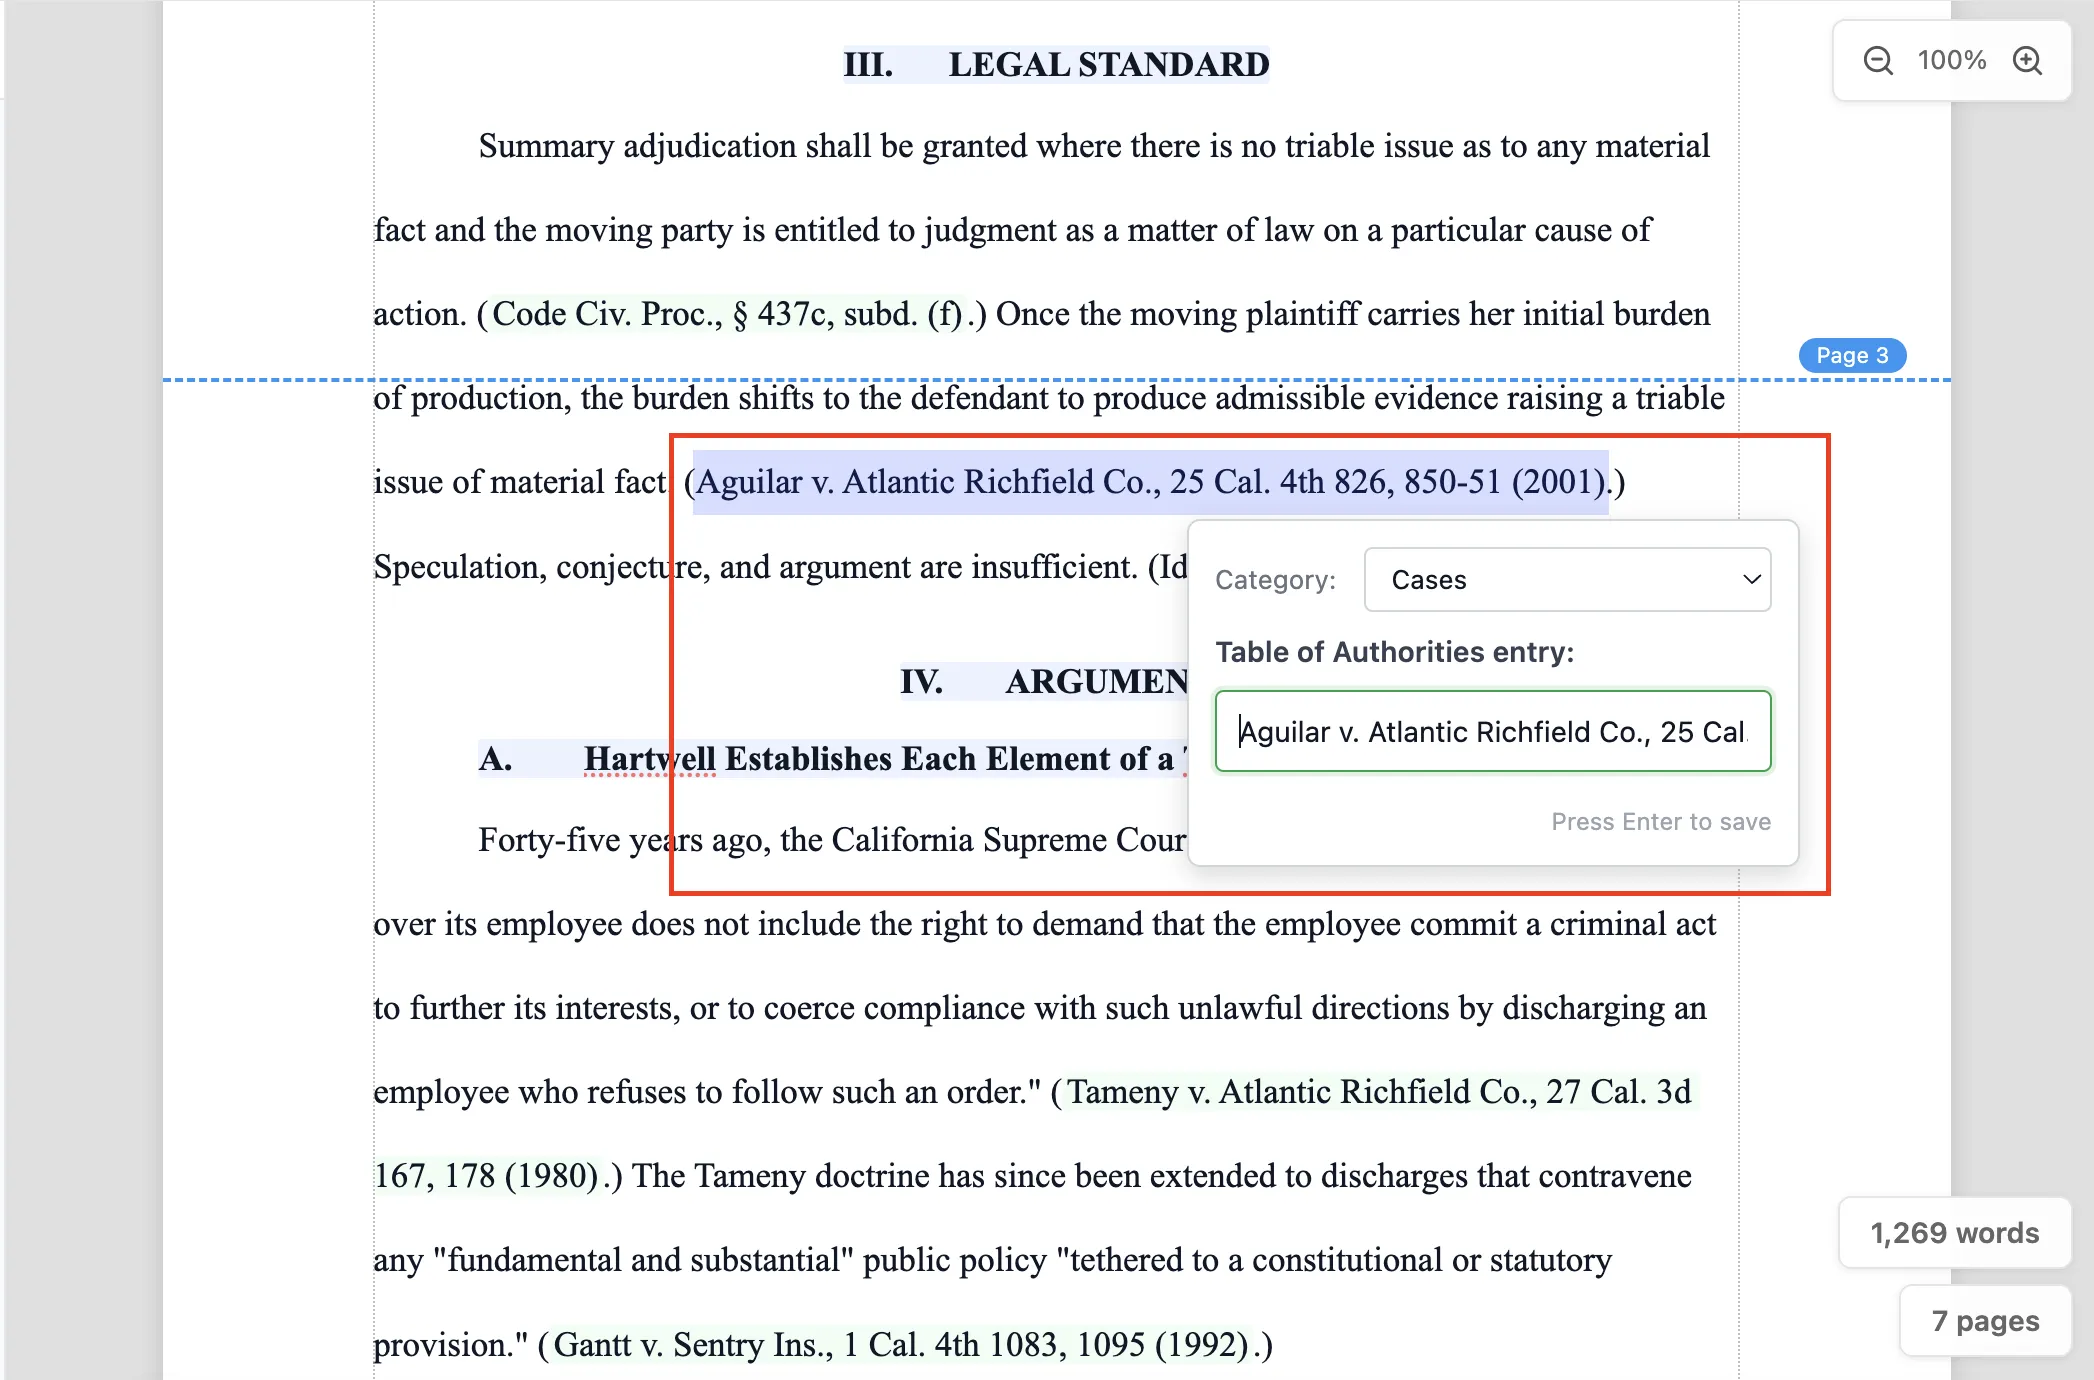
1. Tag the citation and give it a title
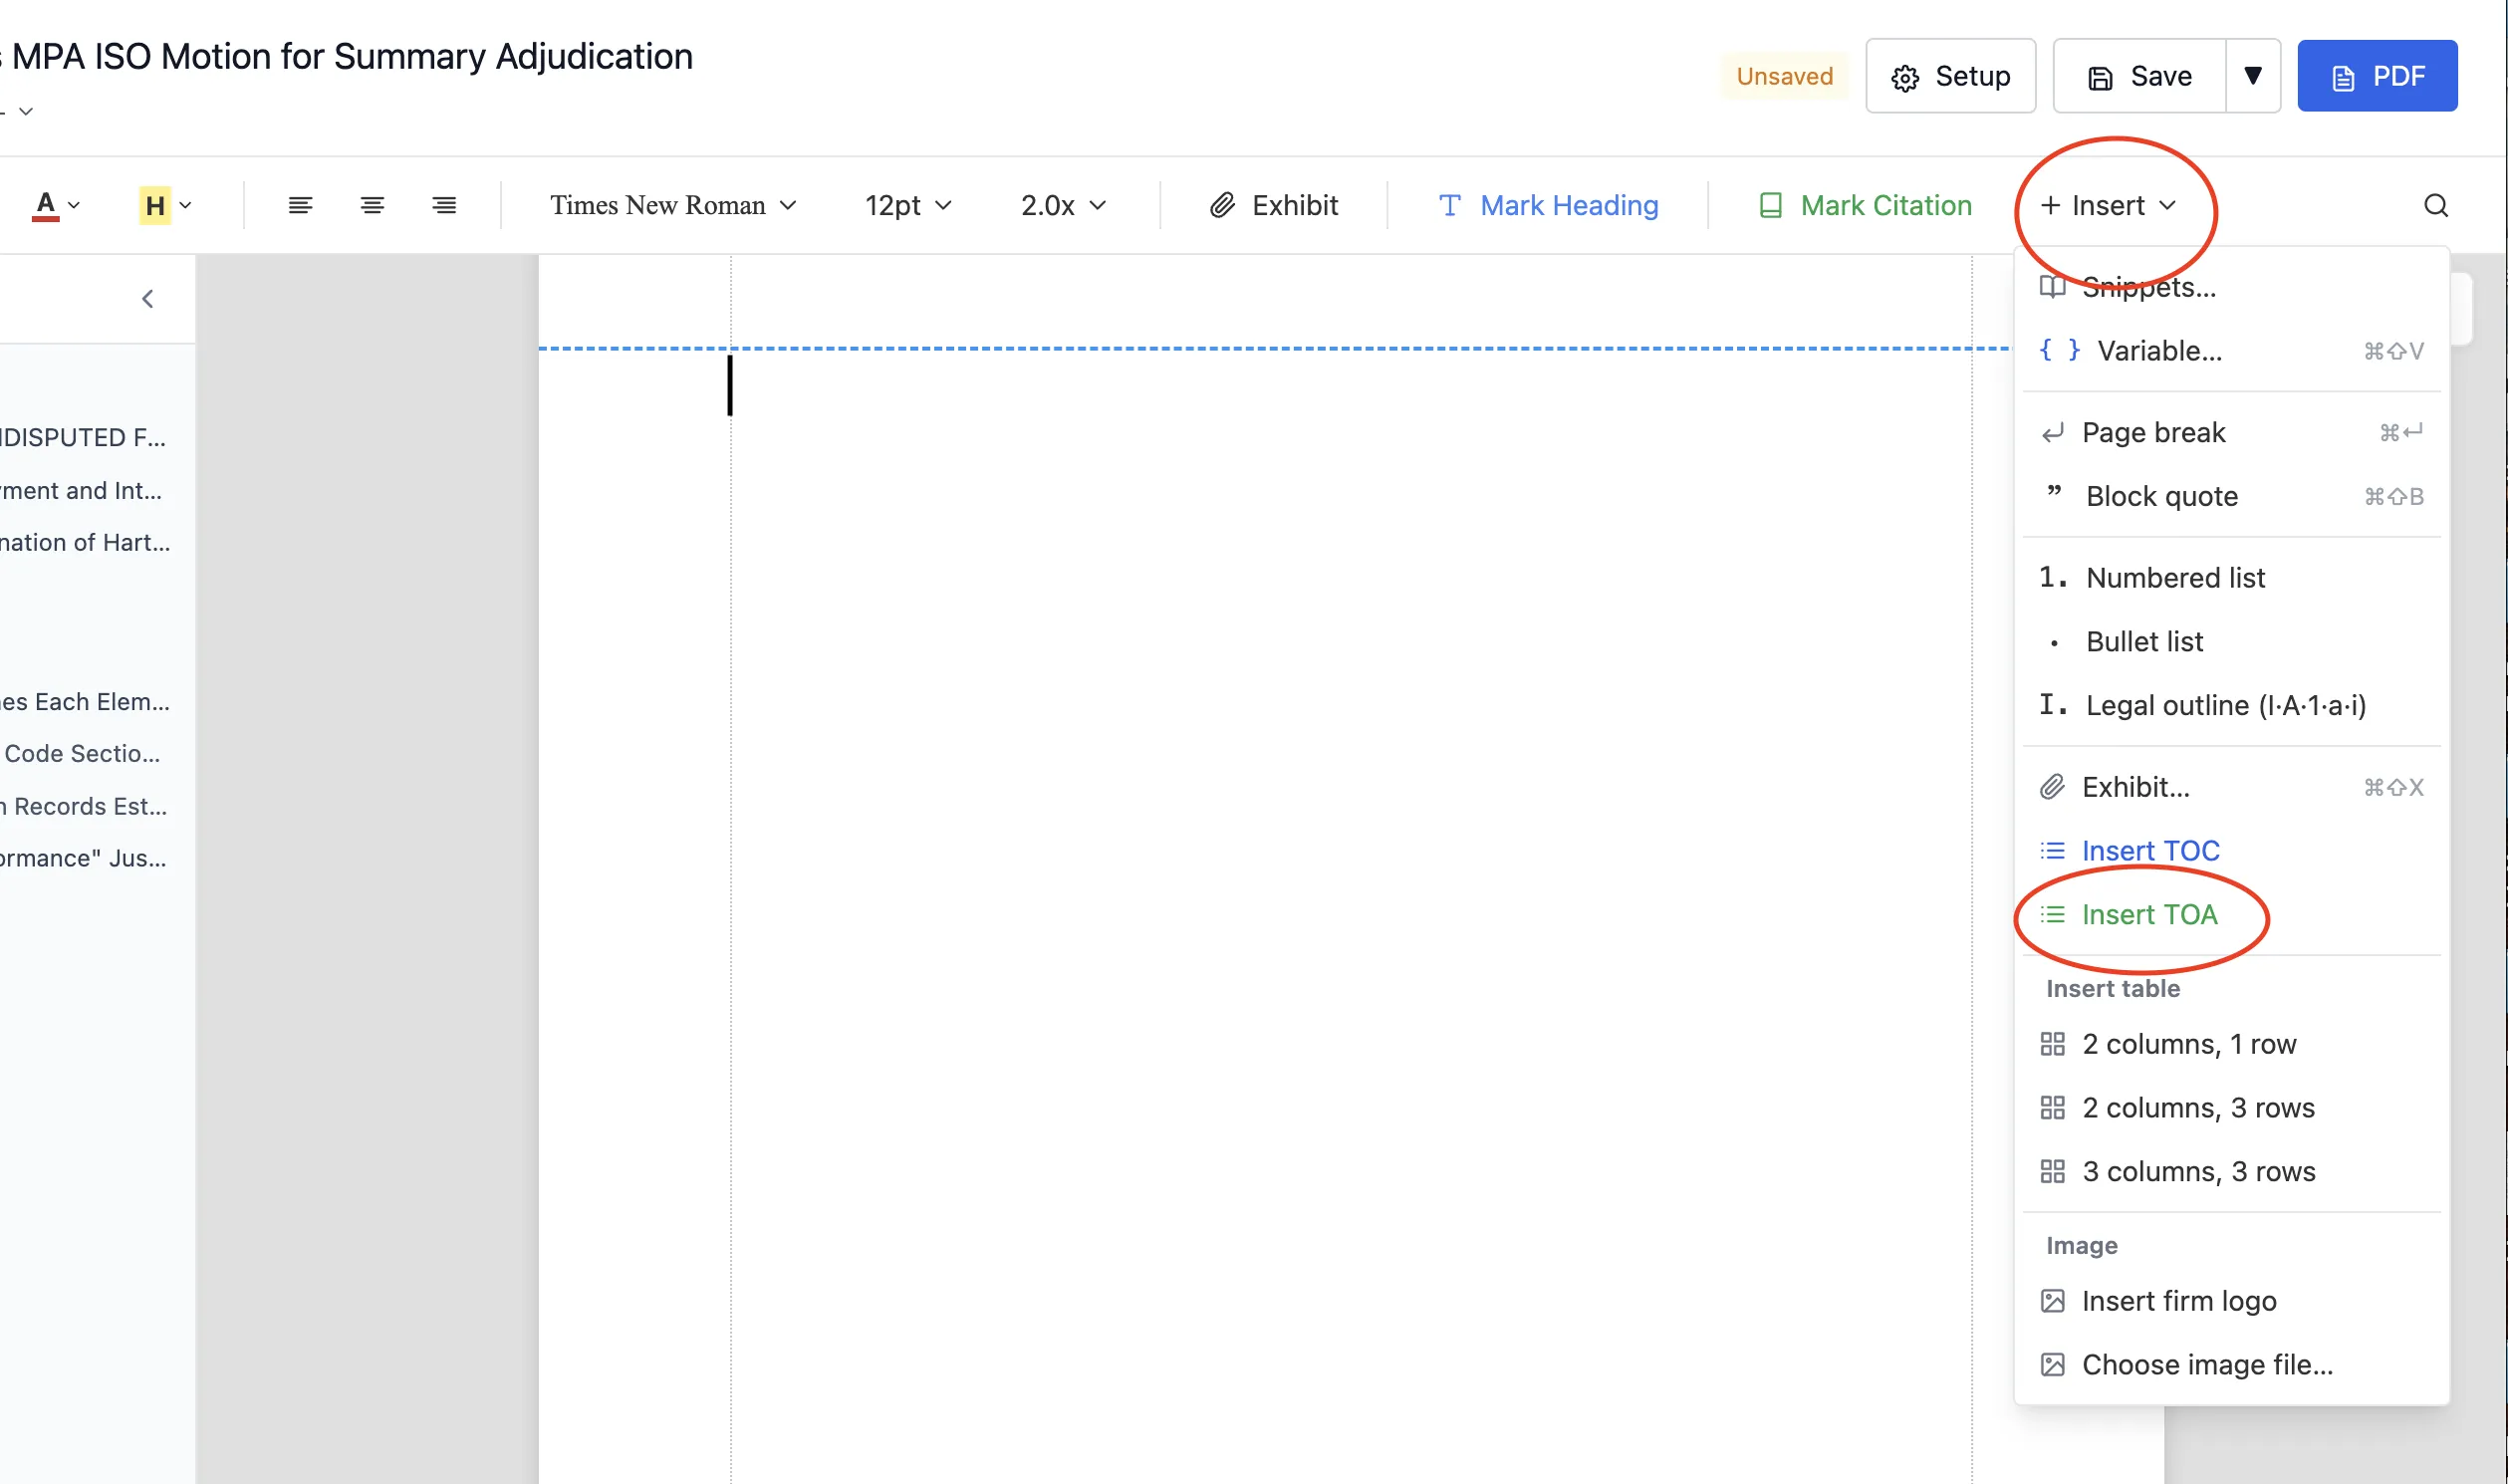
2. Insert menu → Insert TOA
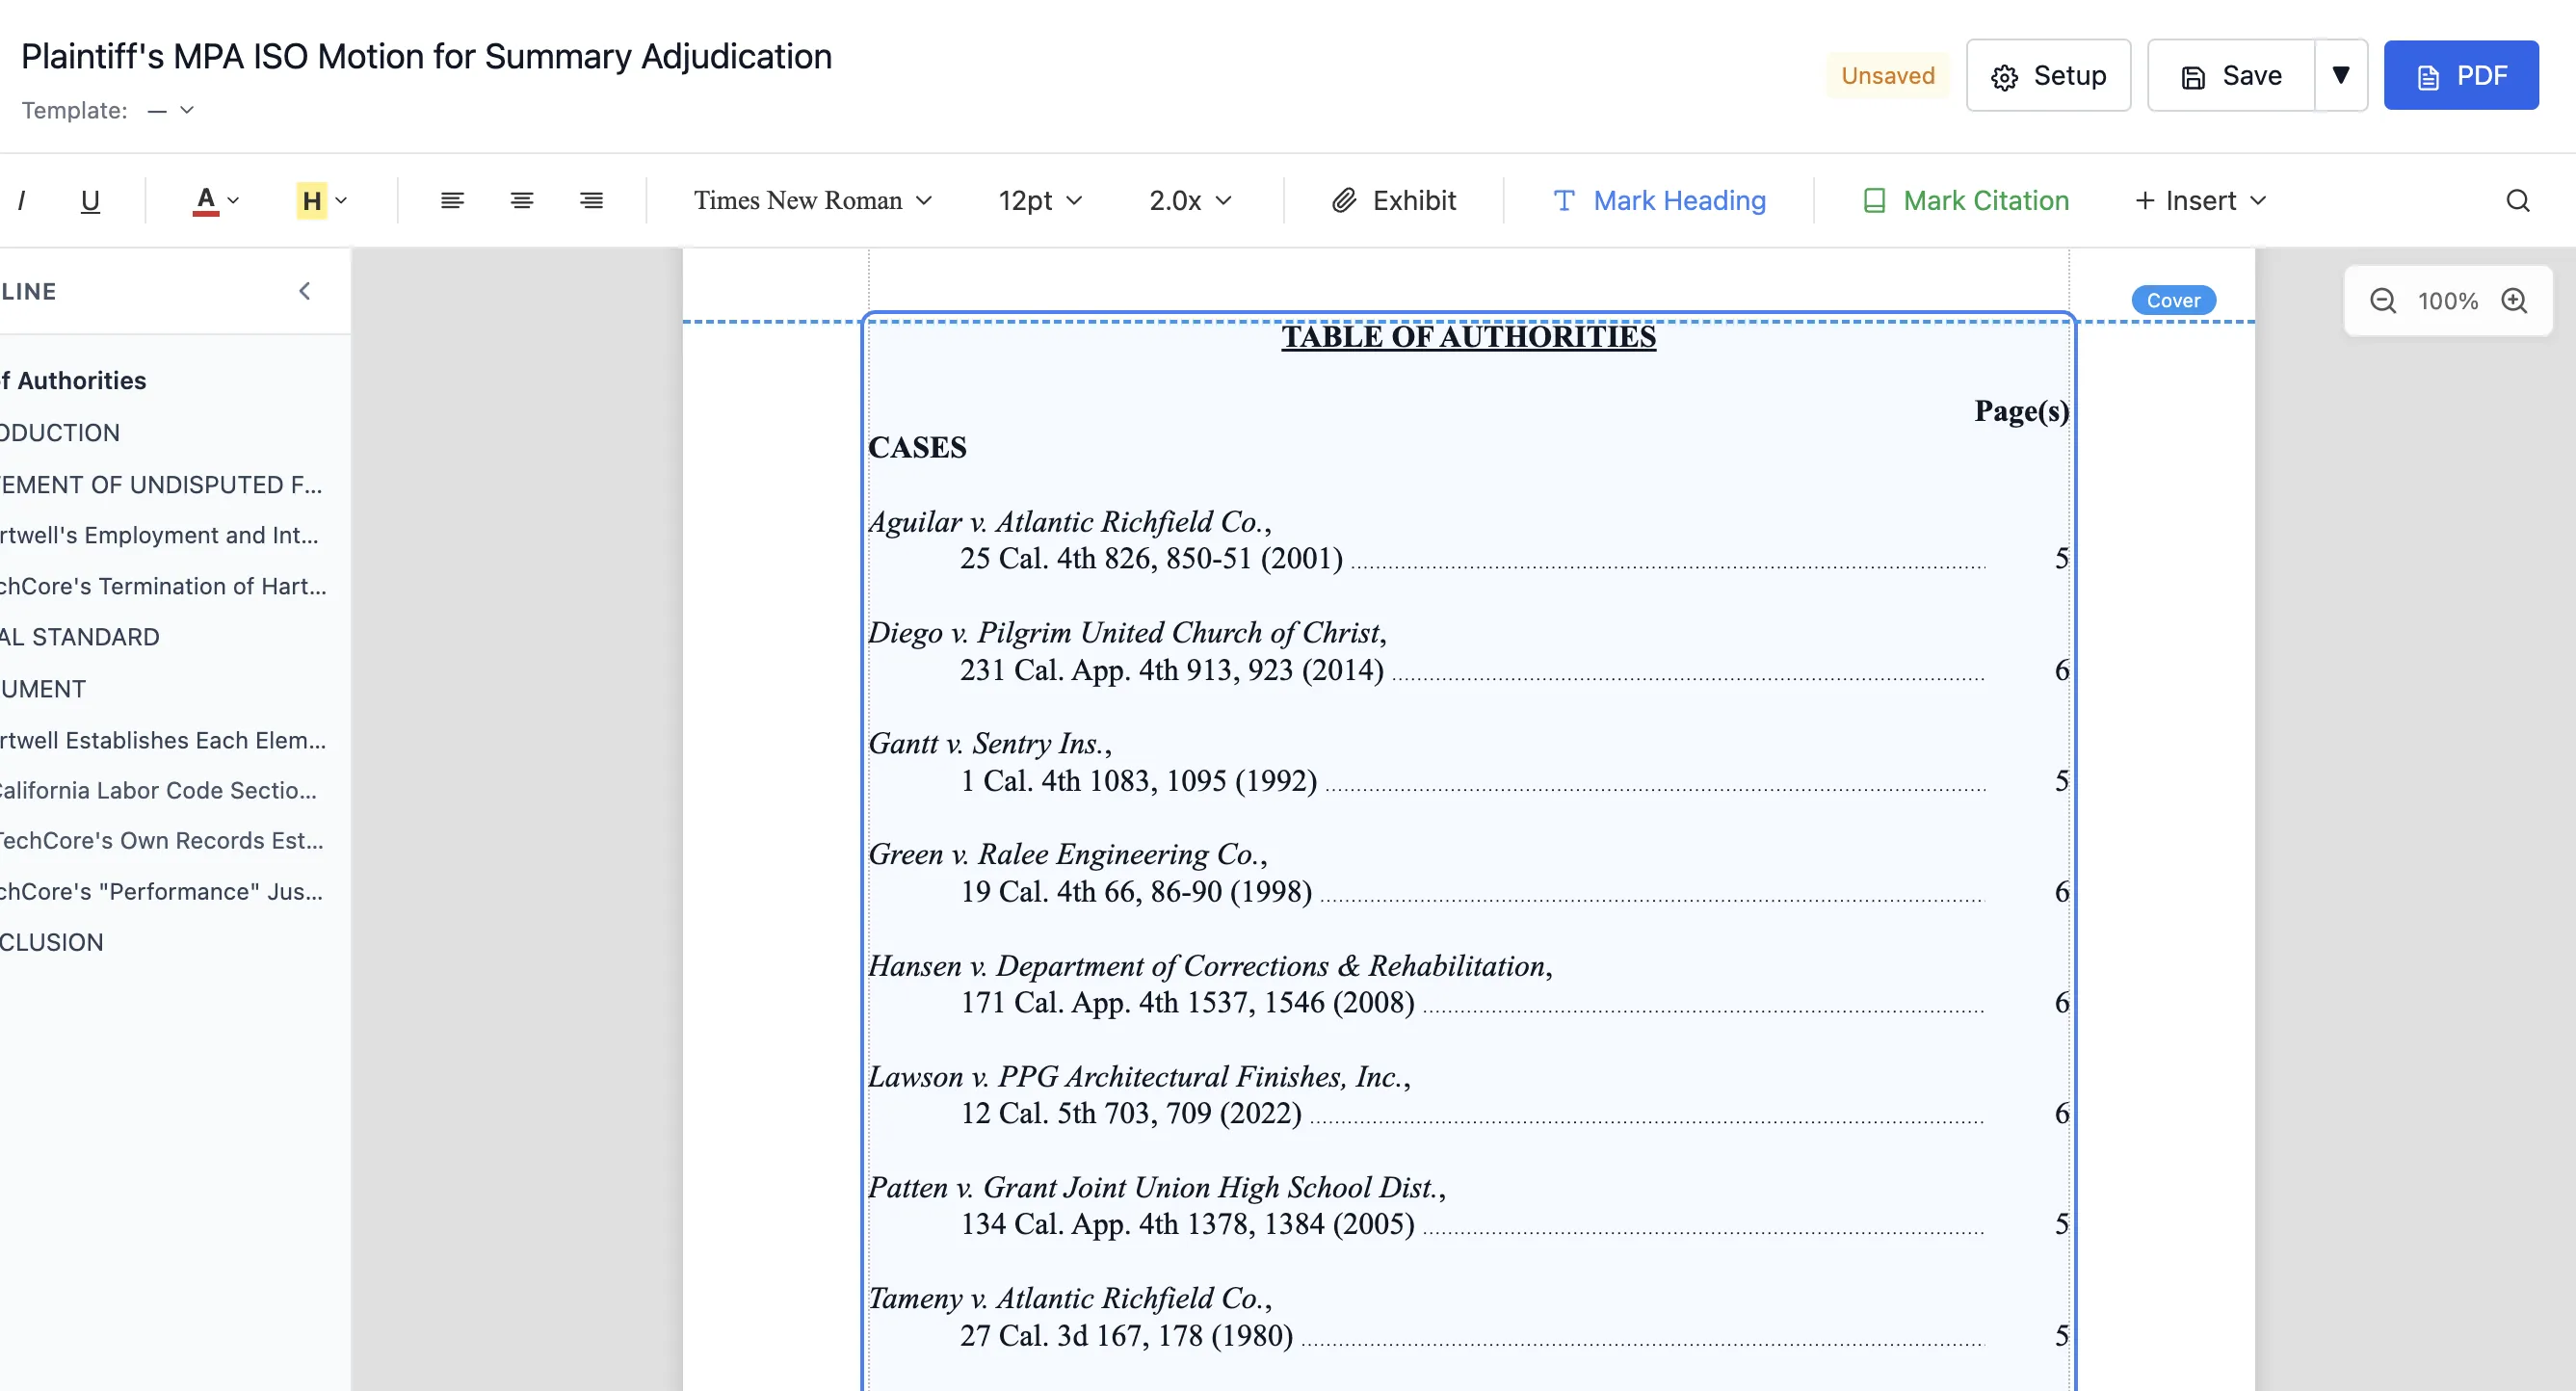
3. The TOA populates itself
Building a Table of Authorities: tag and title a citation, insert the table, and it fills in with page numbers. - Build a Table of Contents (optional). Select a heading and press Ctrl+Shift+H (Cmd+Shift+H on Mac) to mark it. When you mark it, you type the label you want for that entry - any symbol works (A, B, C; I, II, III; 1, 2, 3) and the Table of Contents shows exactly the symbol you wrote. Then open the Insert menu and choose Insert TOC to place it; it builds and repaginates itself.
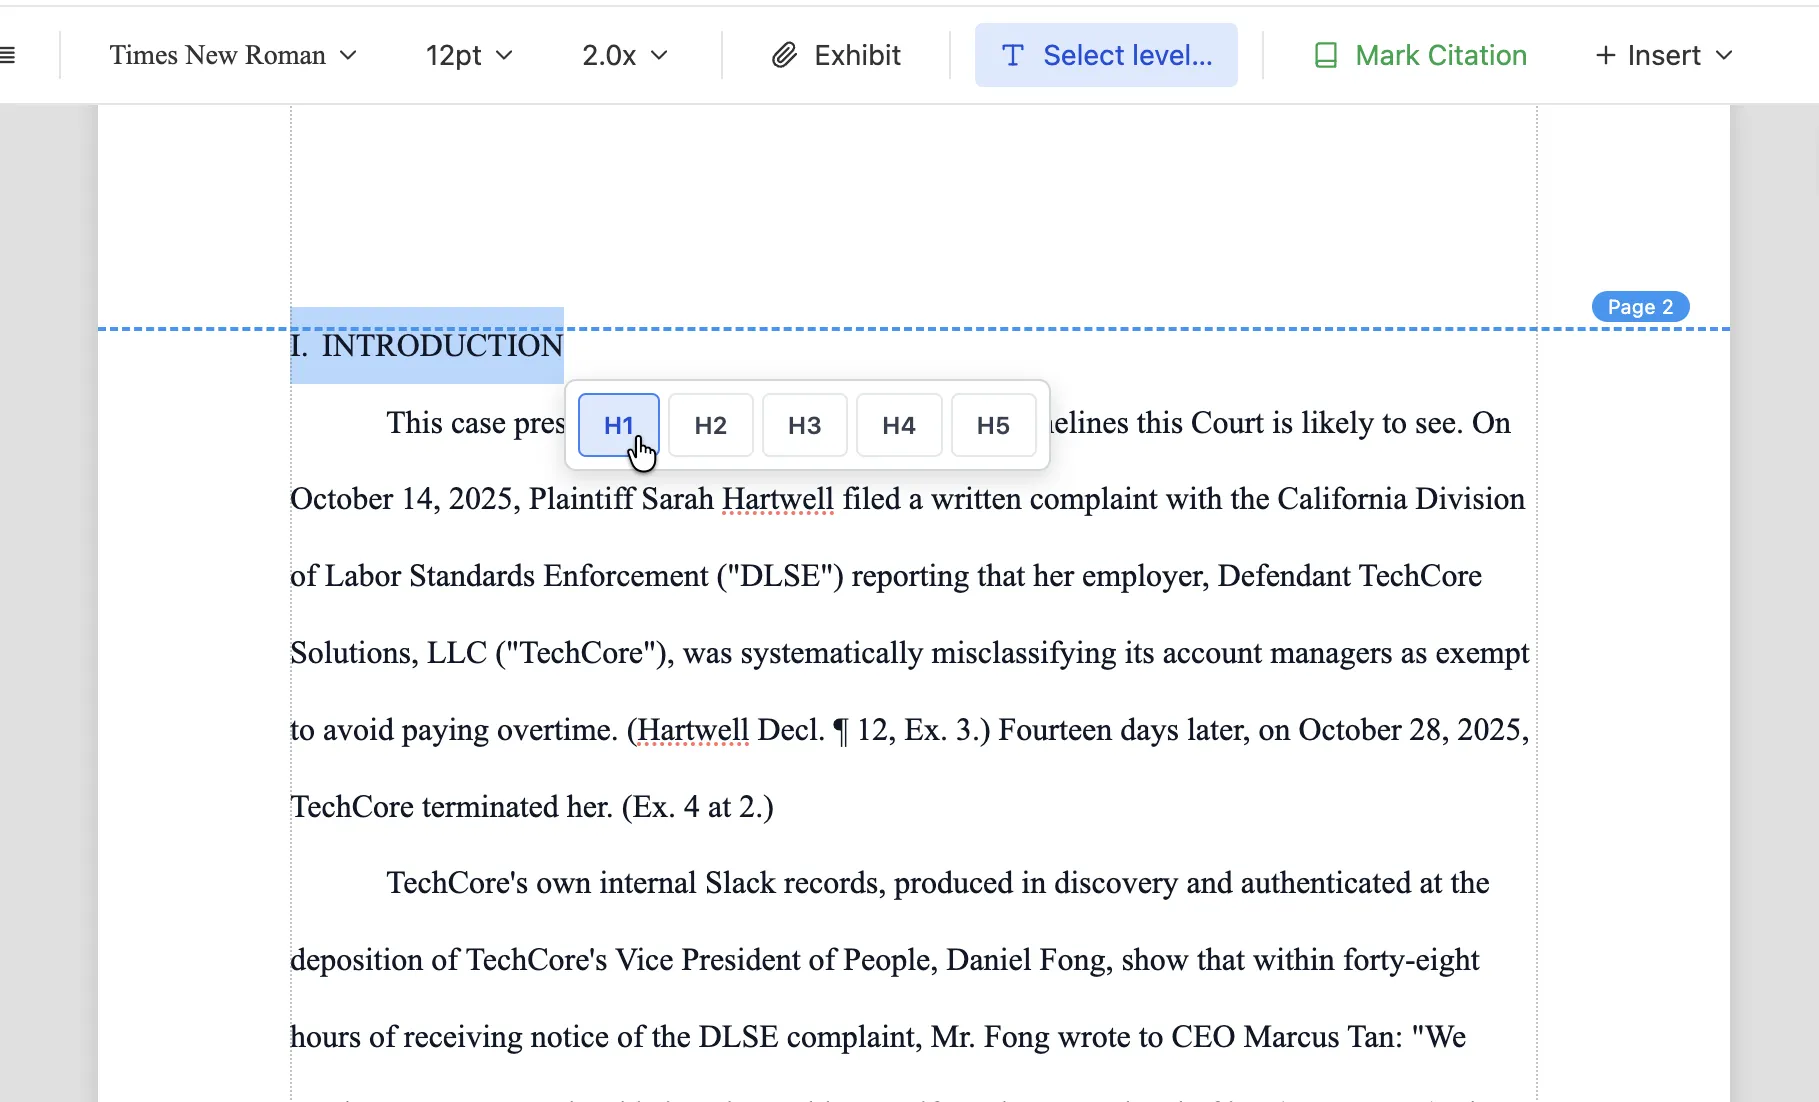
1. Mark the heading and type its label
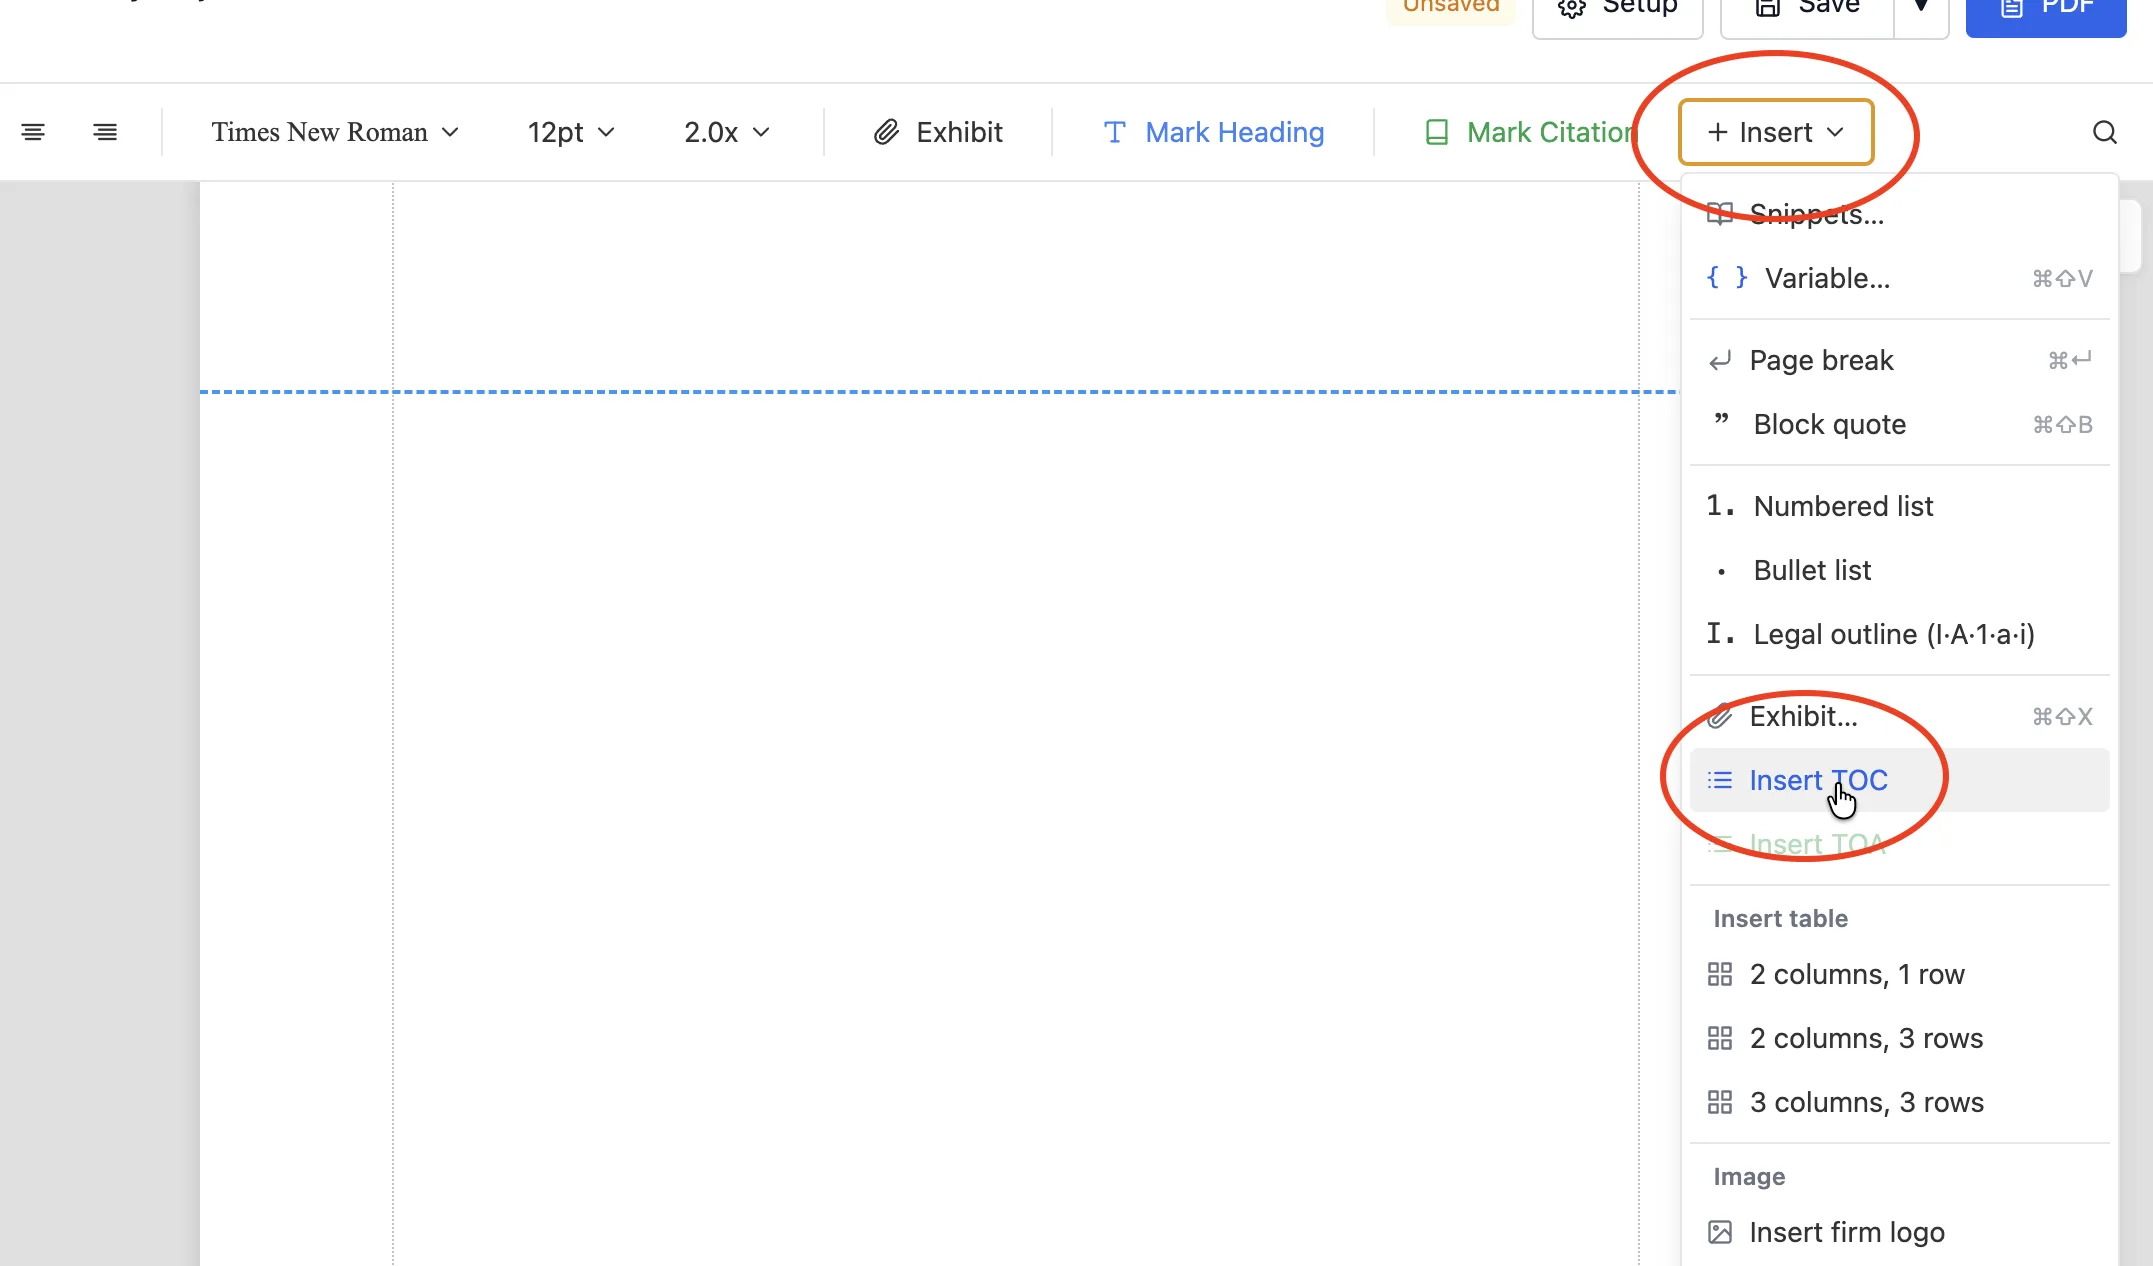
2. Insert menu → Insert TOC
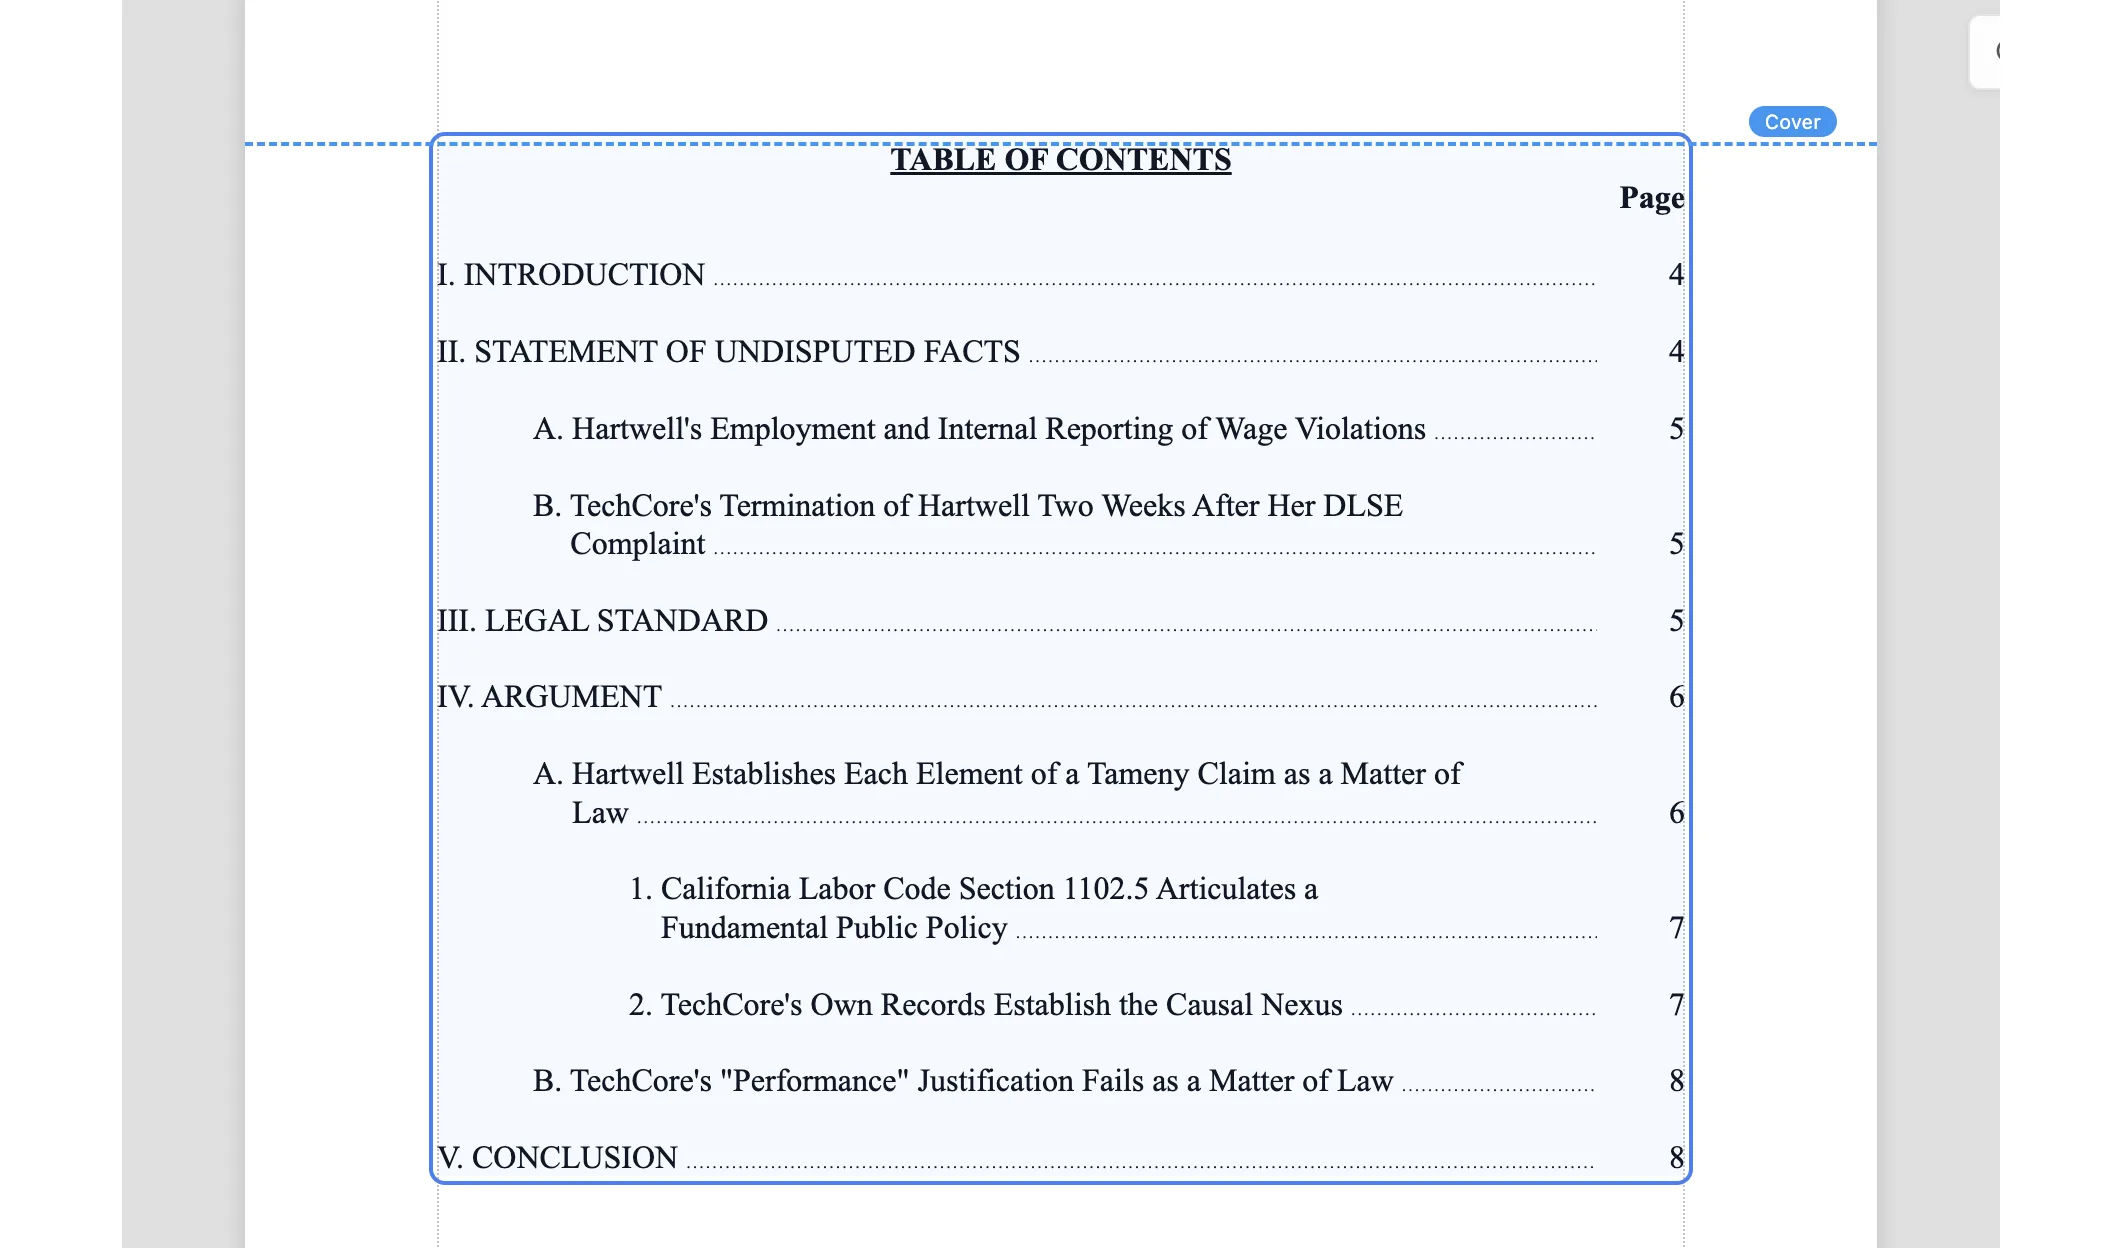
3. The TOC populates itself
Building a Table of Contents: mark a heading with the label you want, insert the table, and it fills in with page numbers.
Export
- Click PDF at the top right to open the PDF preview.
- Review the document. Page numbers, any Table of Authorities or Contents, the exhibit index, and working exhibit-reference hyperlinks are all already in place.
- Open PDF Settings to choose what to export: the brief and exhibits in one PDF, the brief only, the exhibits only, or the brief and each exhibit as separate PDFs. Apply your choice.
- When it looks right, click Export PDF.
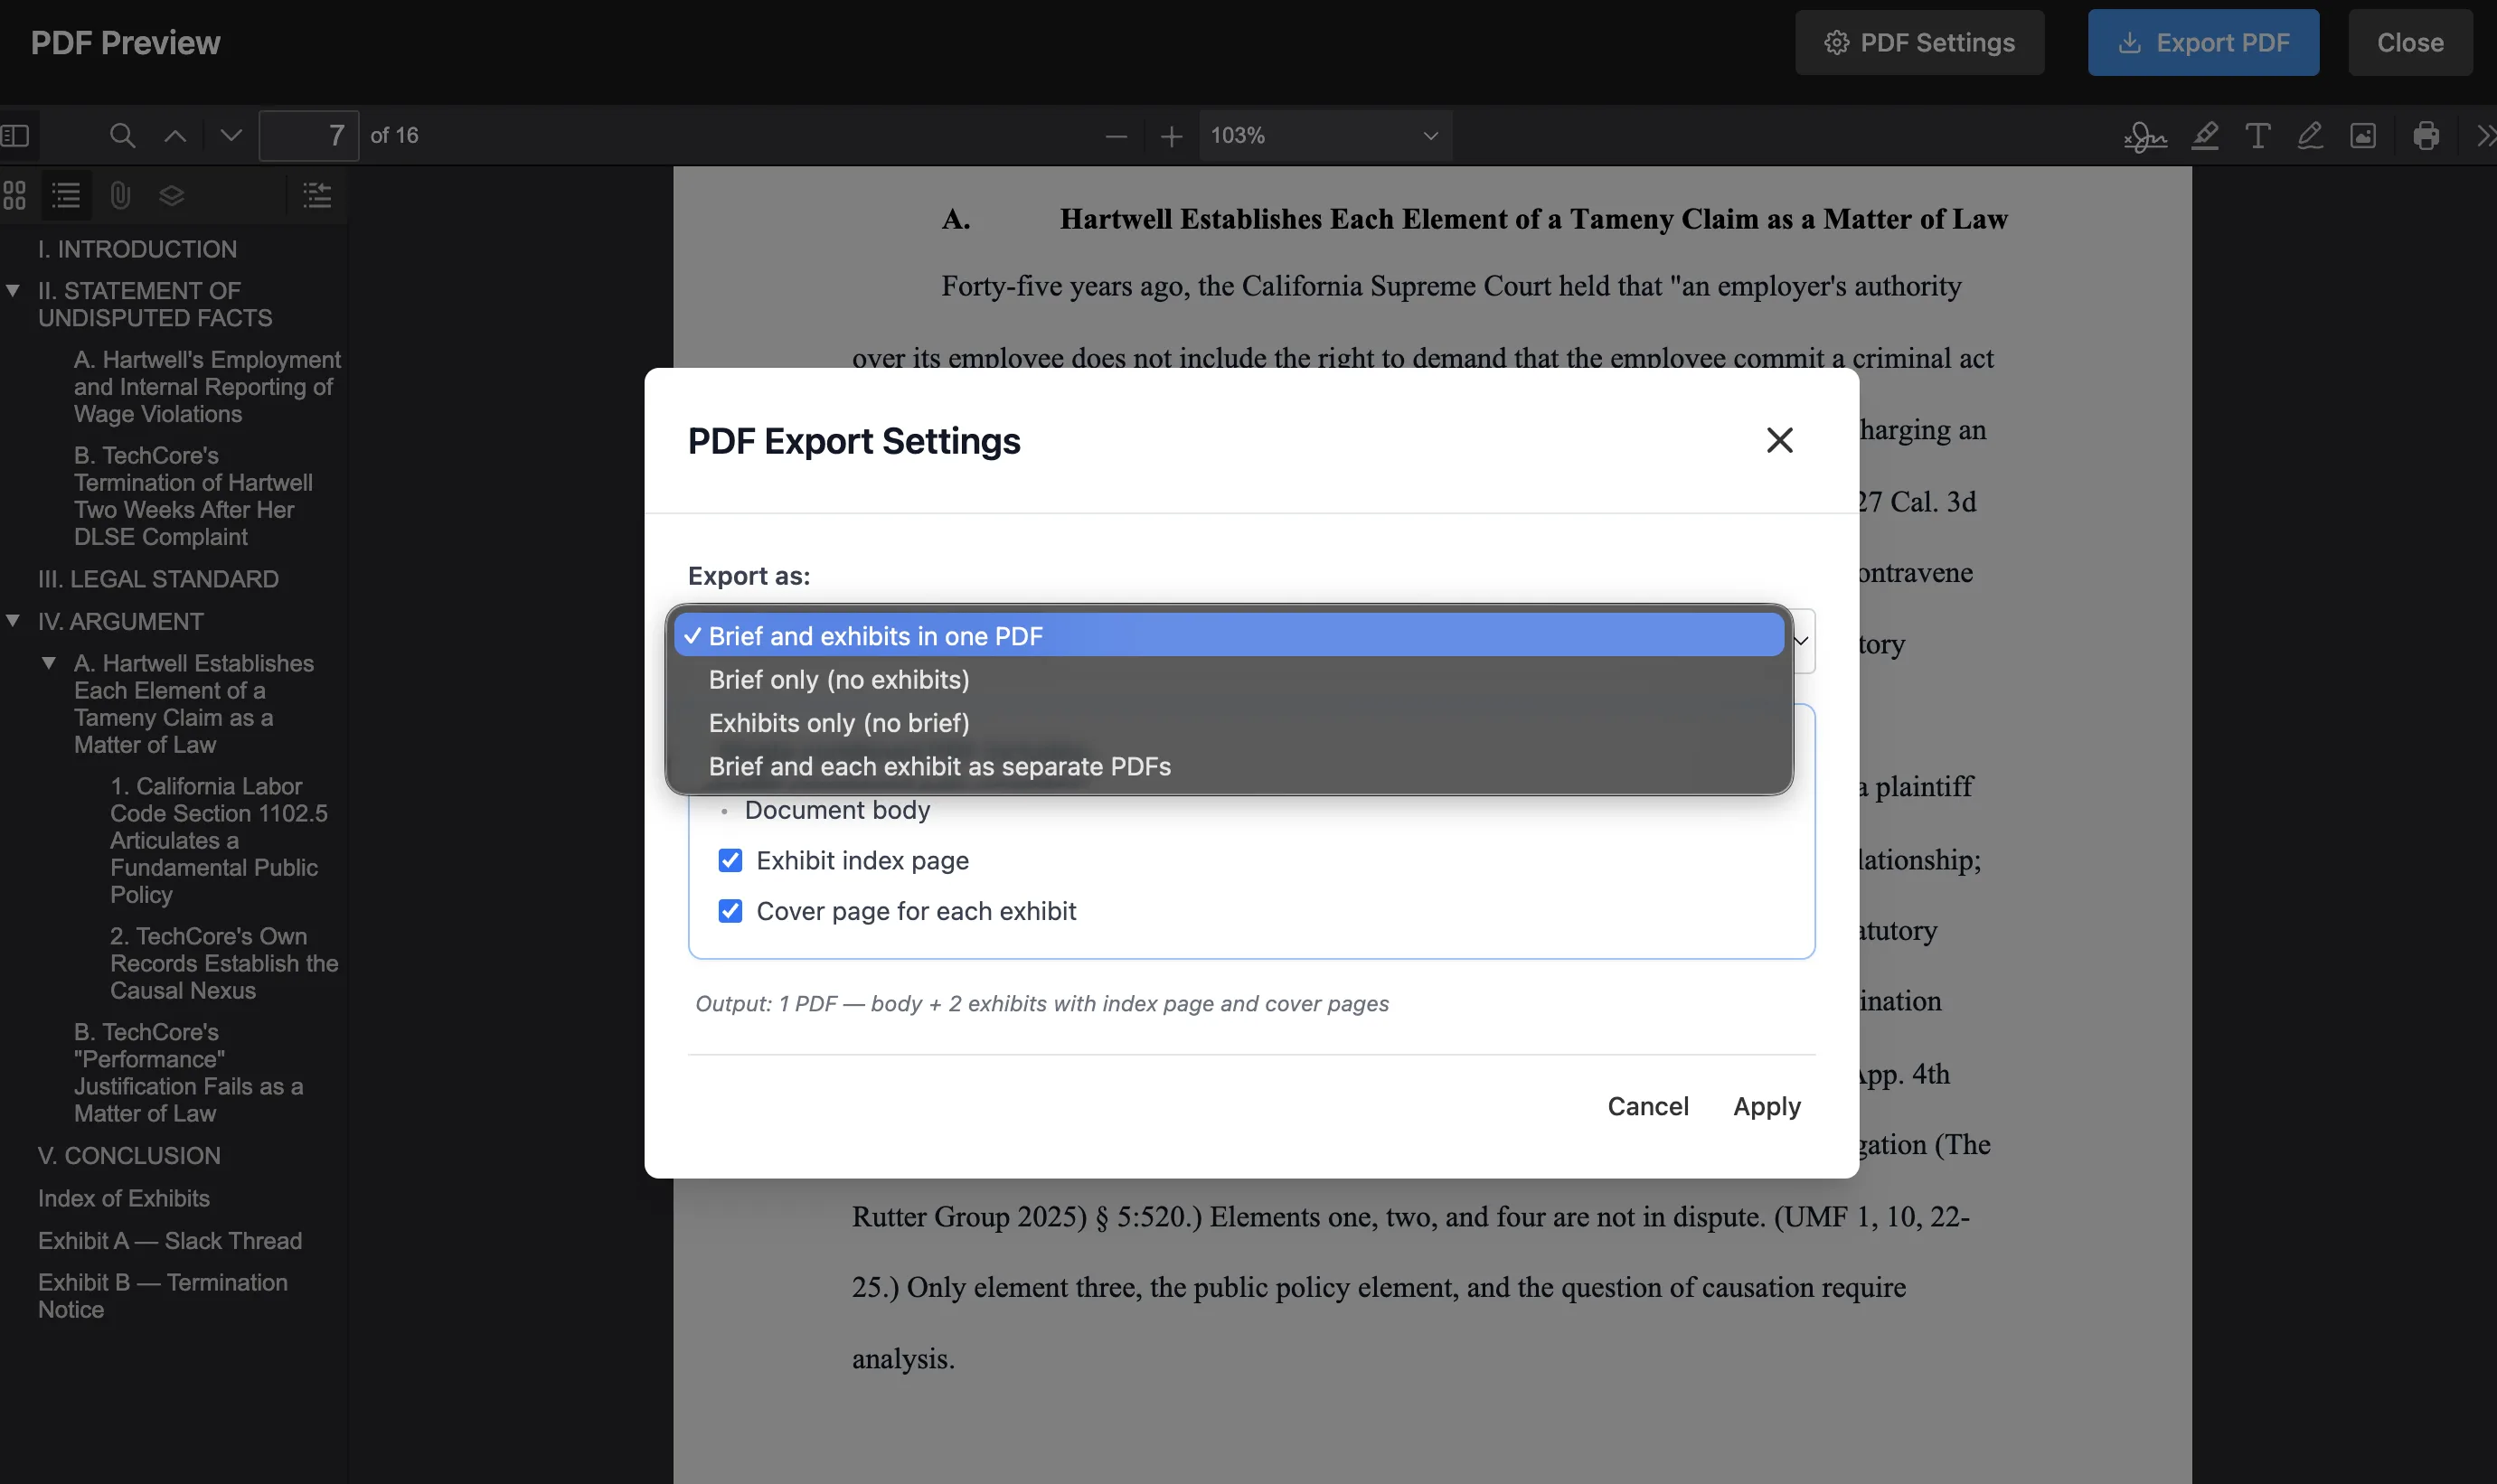
1. Choose what to include in PDF Settings
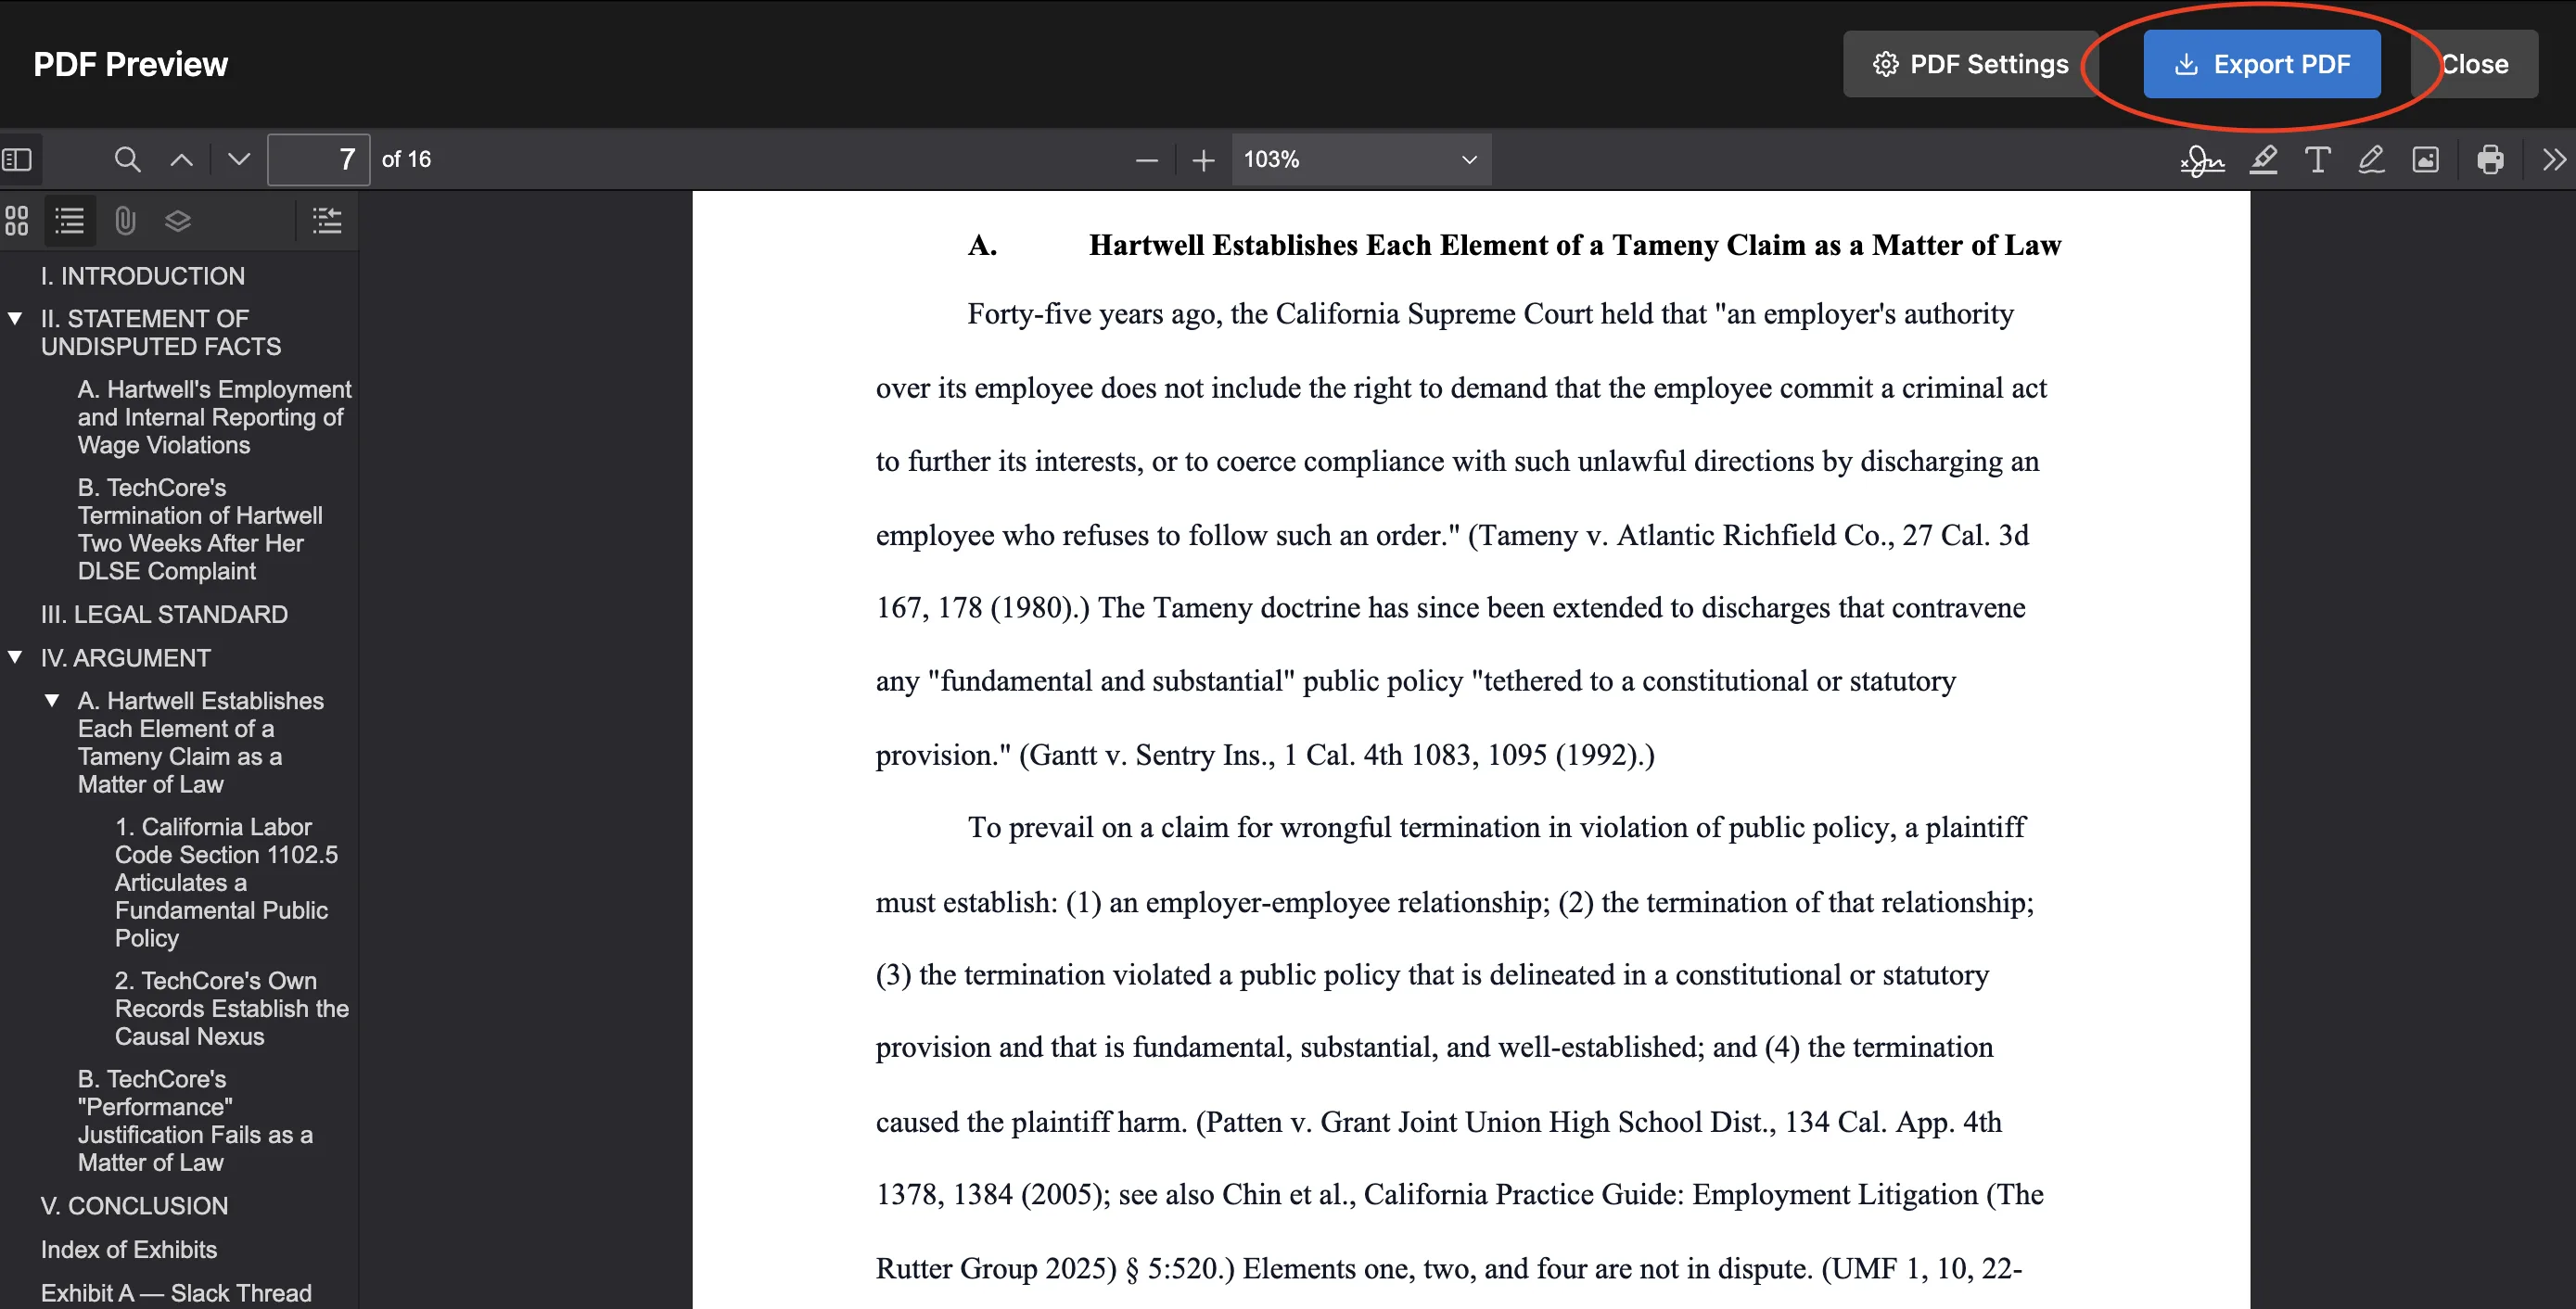
2. Click Export PDF
You can also save any document as a template, so the next matter starts from your own drafting instead of a blank page.
Forms
Take any PDF that has fillable fields, drop it in, and Pleadit auto-fills it from your case data.
Map your own form
- From the case, click Generate Forms, then Map a New Form.
- Drag in the PDF you want to autopopulate.
- Drag variables onto the fields they fill.
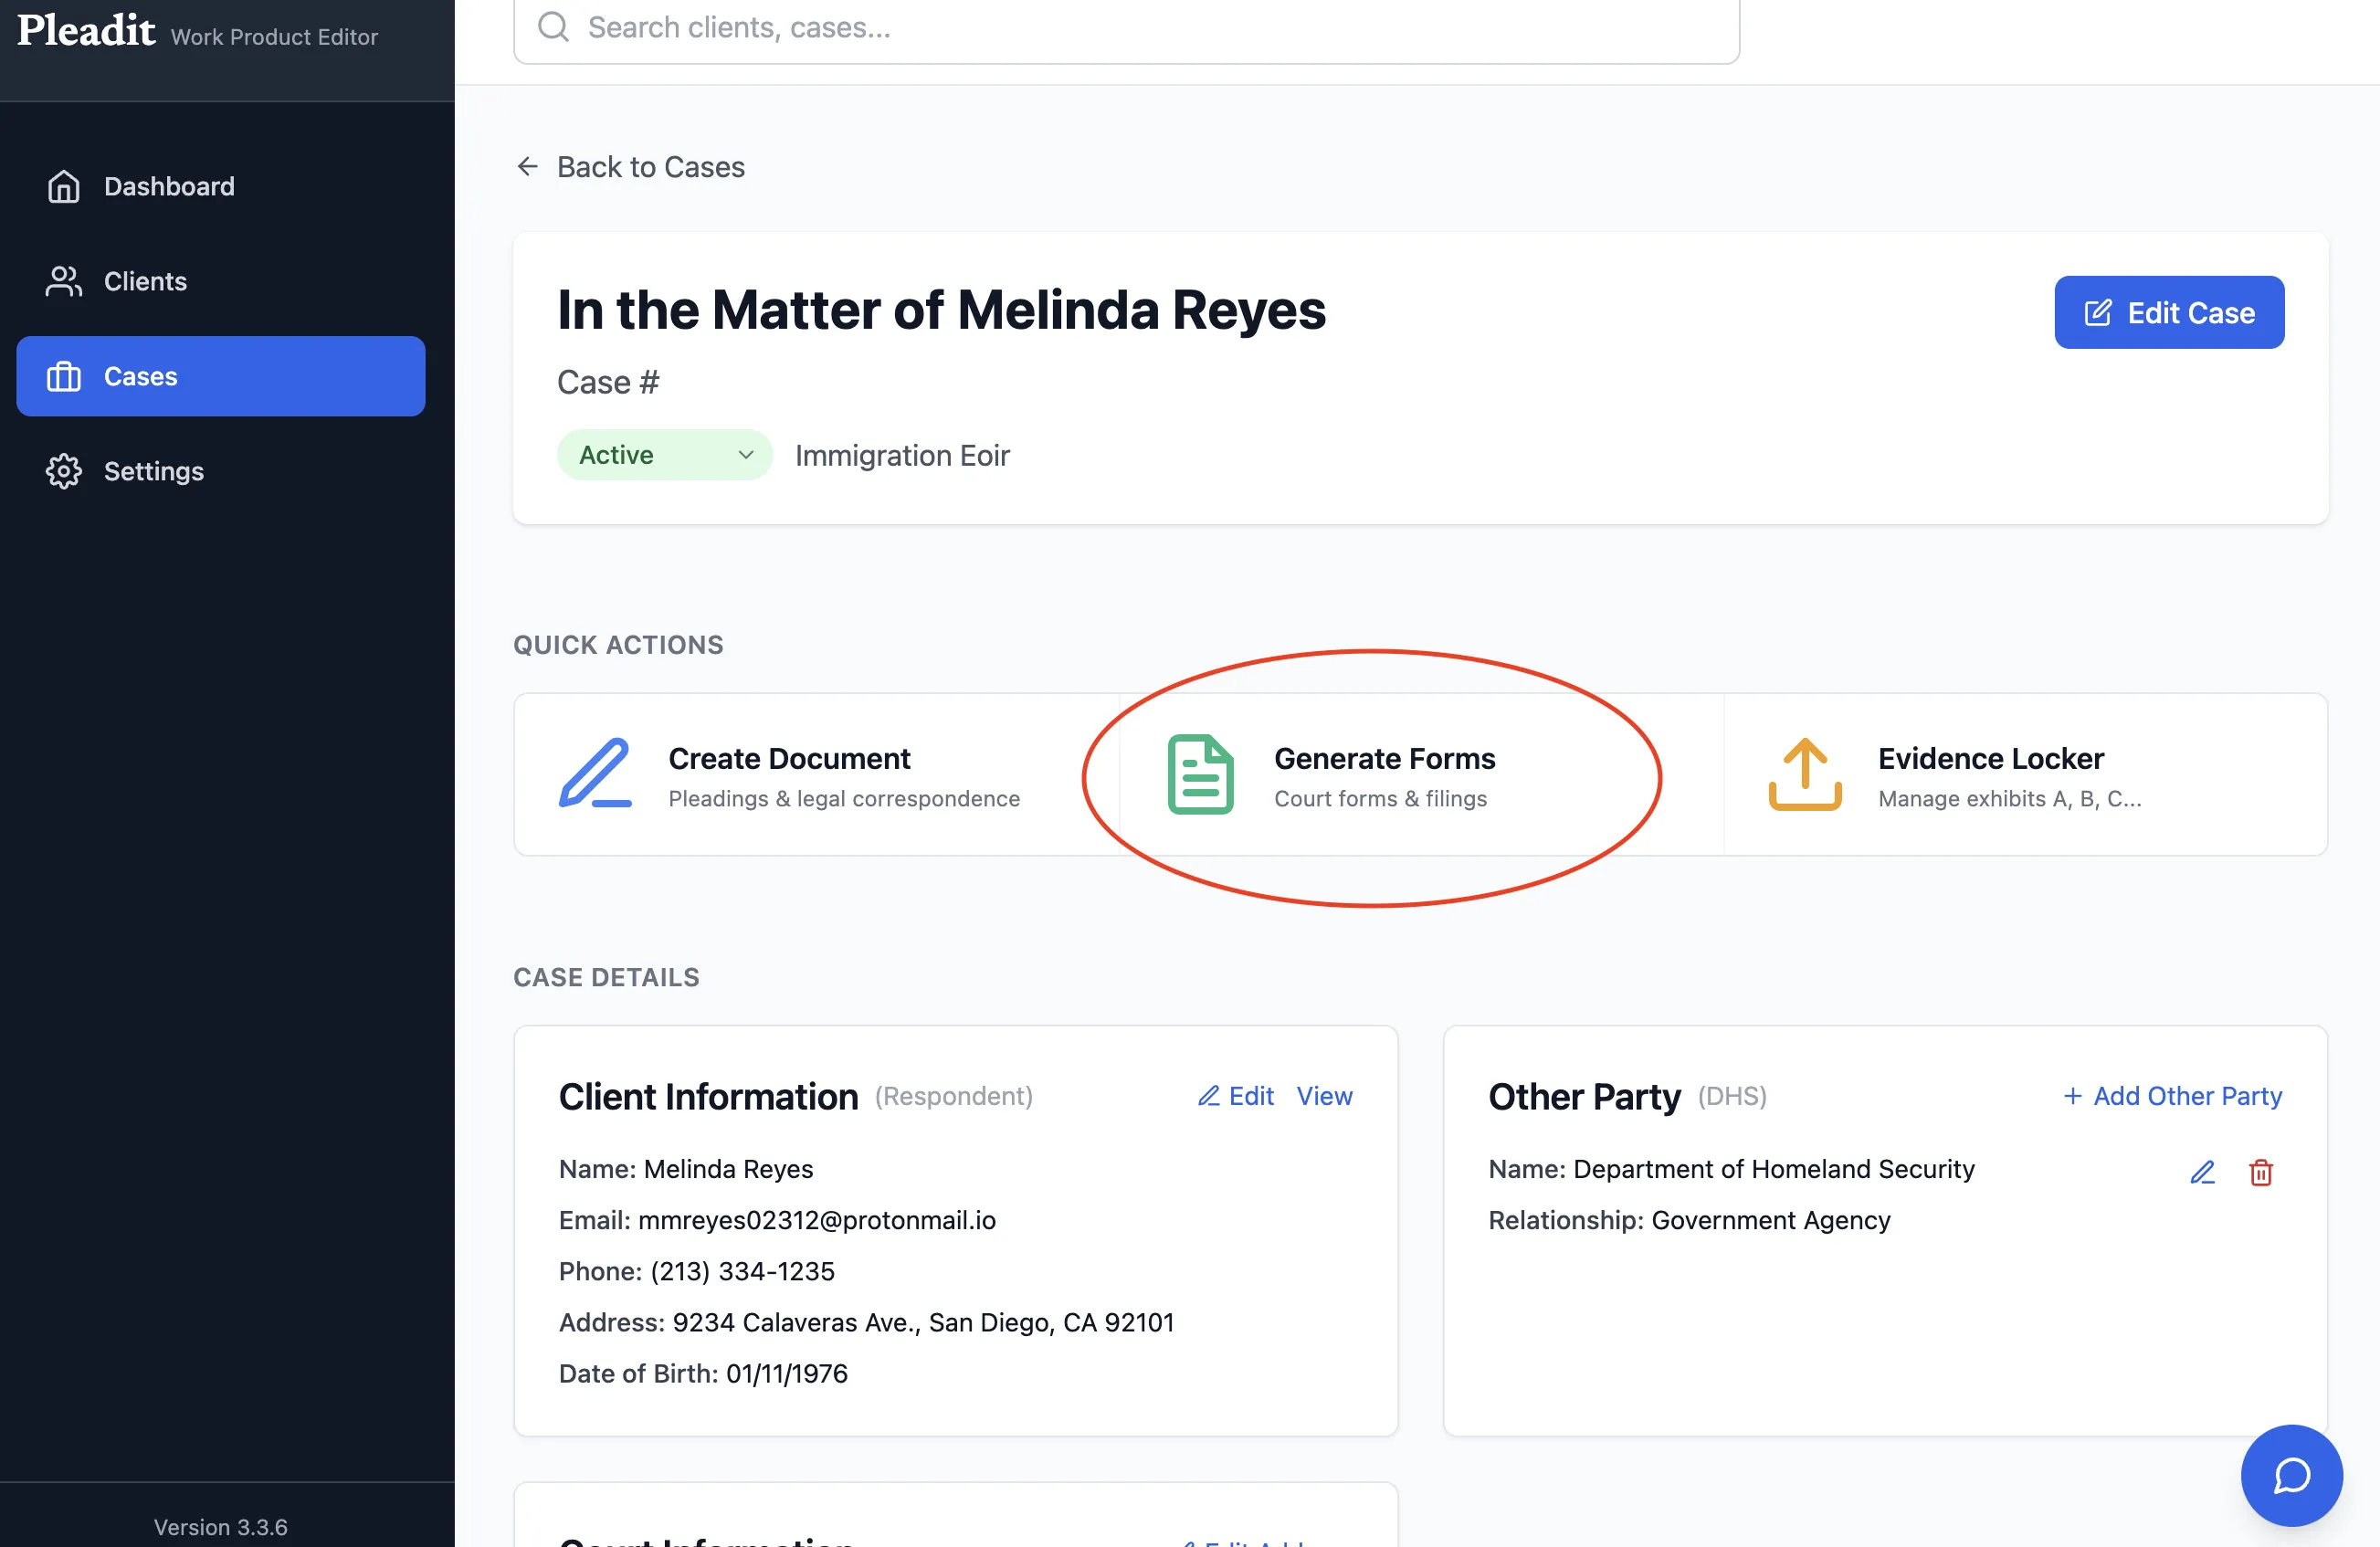
Generate Forms
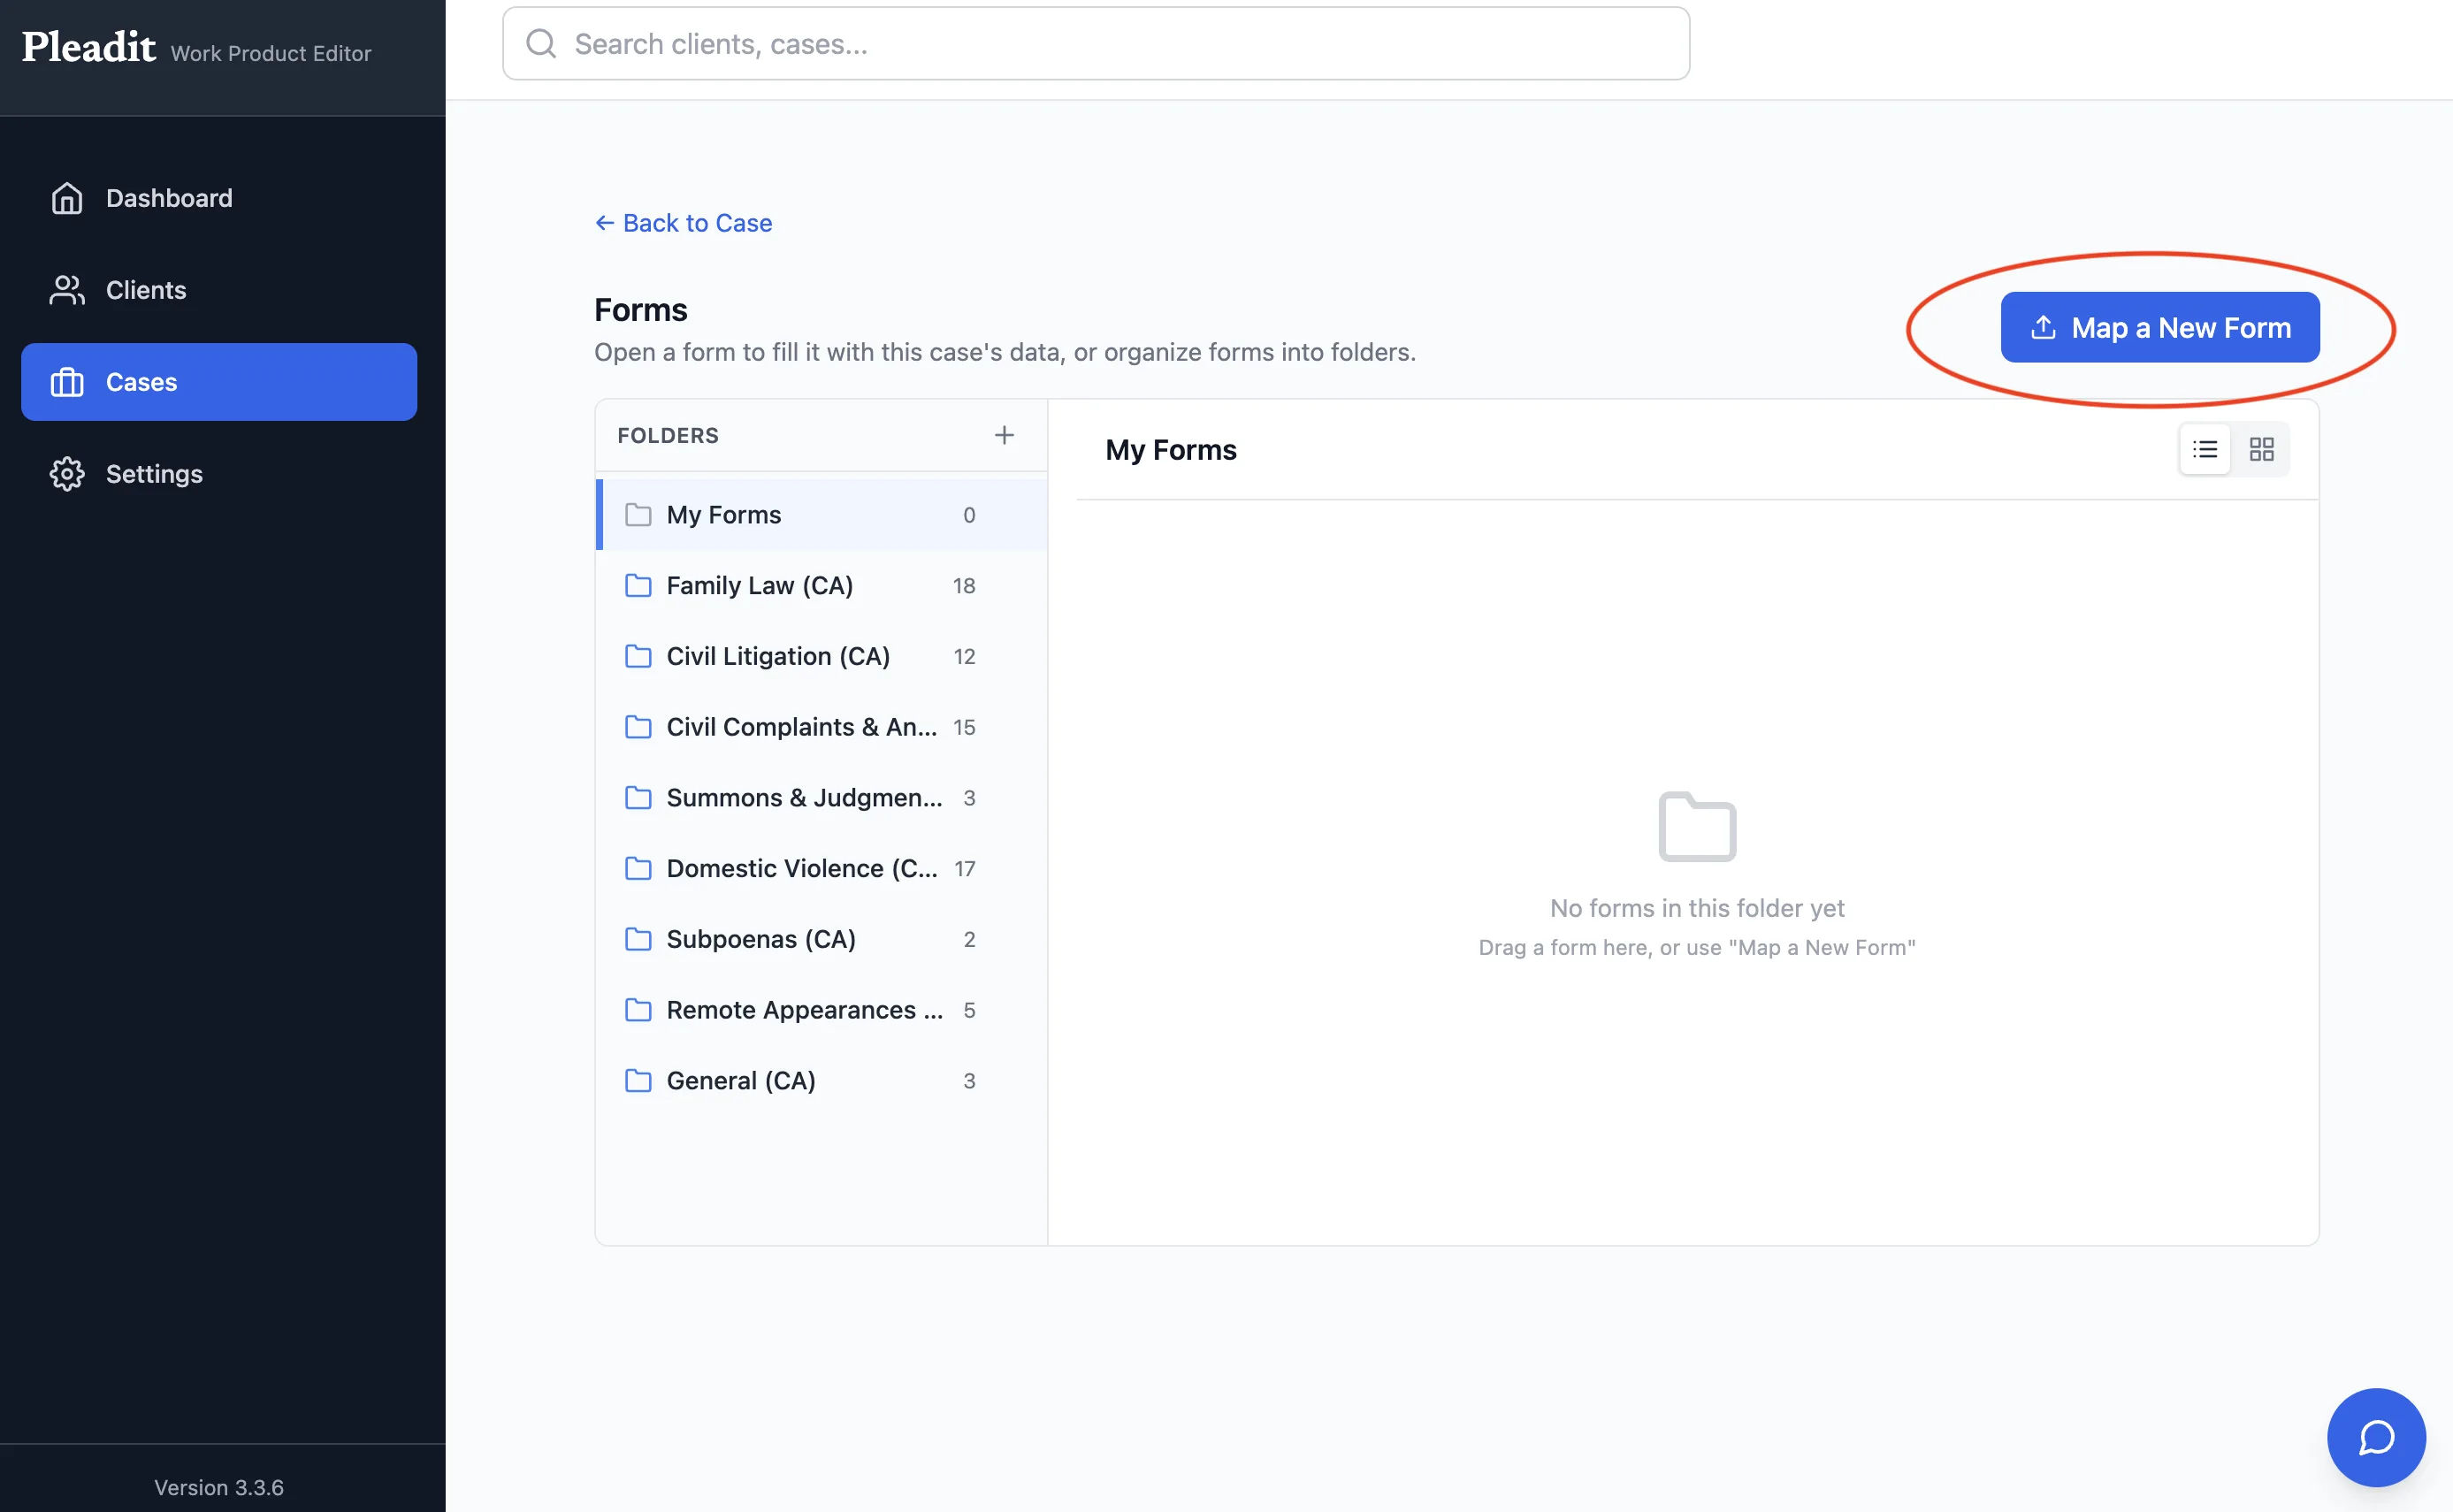
Map a New Form
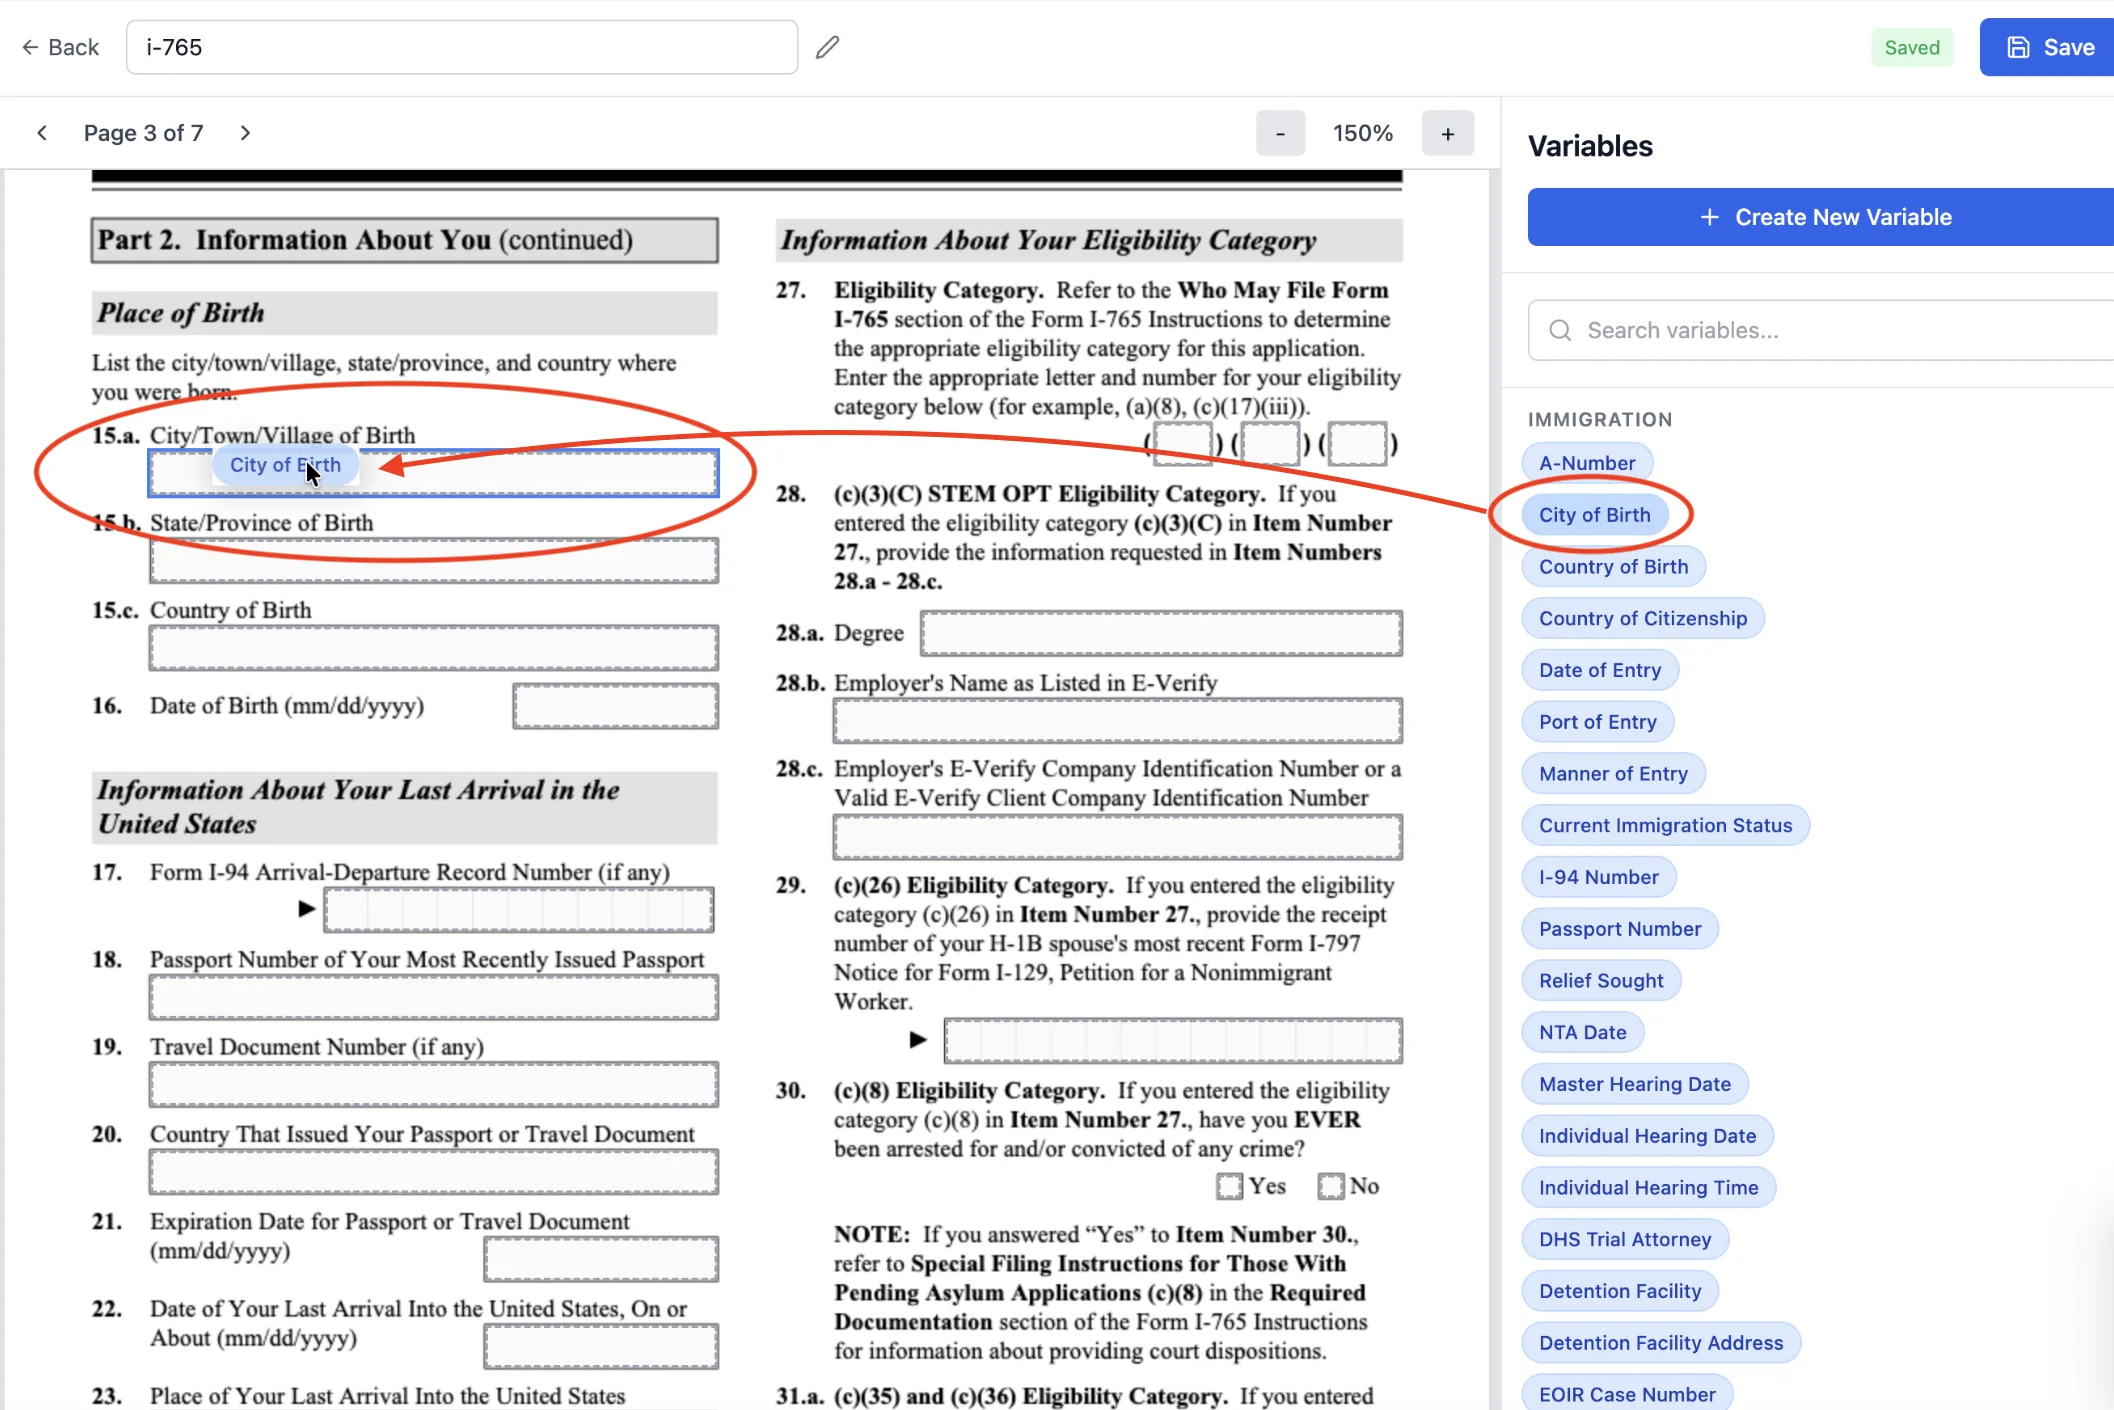
Drag variables onto fields
Mapped forms are saved to the My Forms folder - make your own folders to organize them however you like.
Fill out a form
- From the case, click Generate Forms.
- Choose the form you want - a built-in California form or one you mapped. It opens in the Form Editor with the main fields already filled from your client and case data.
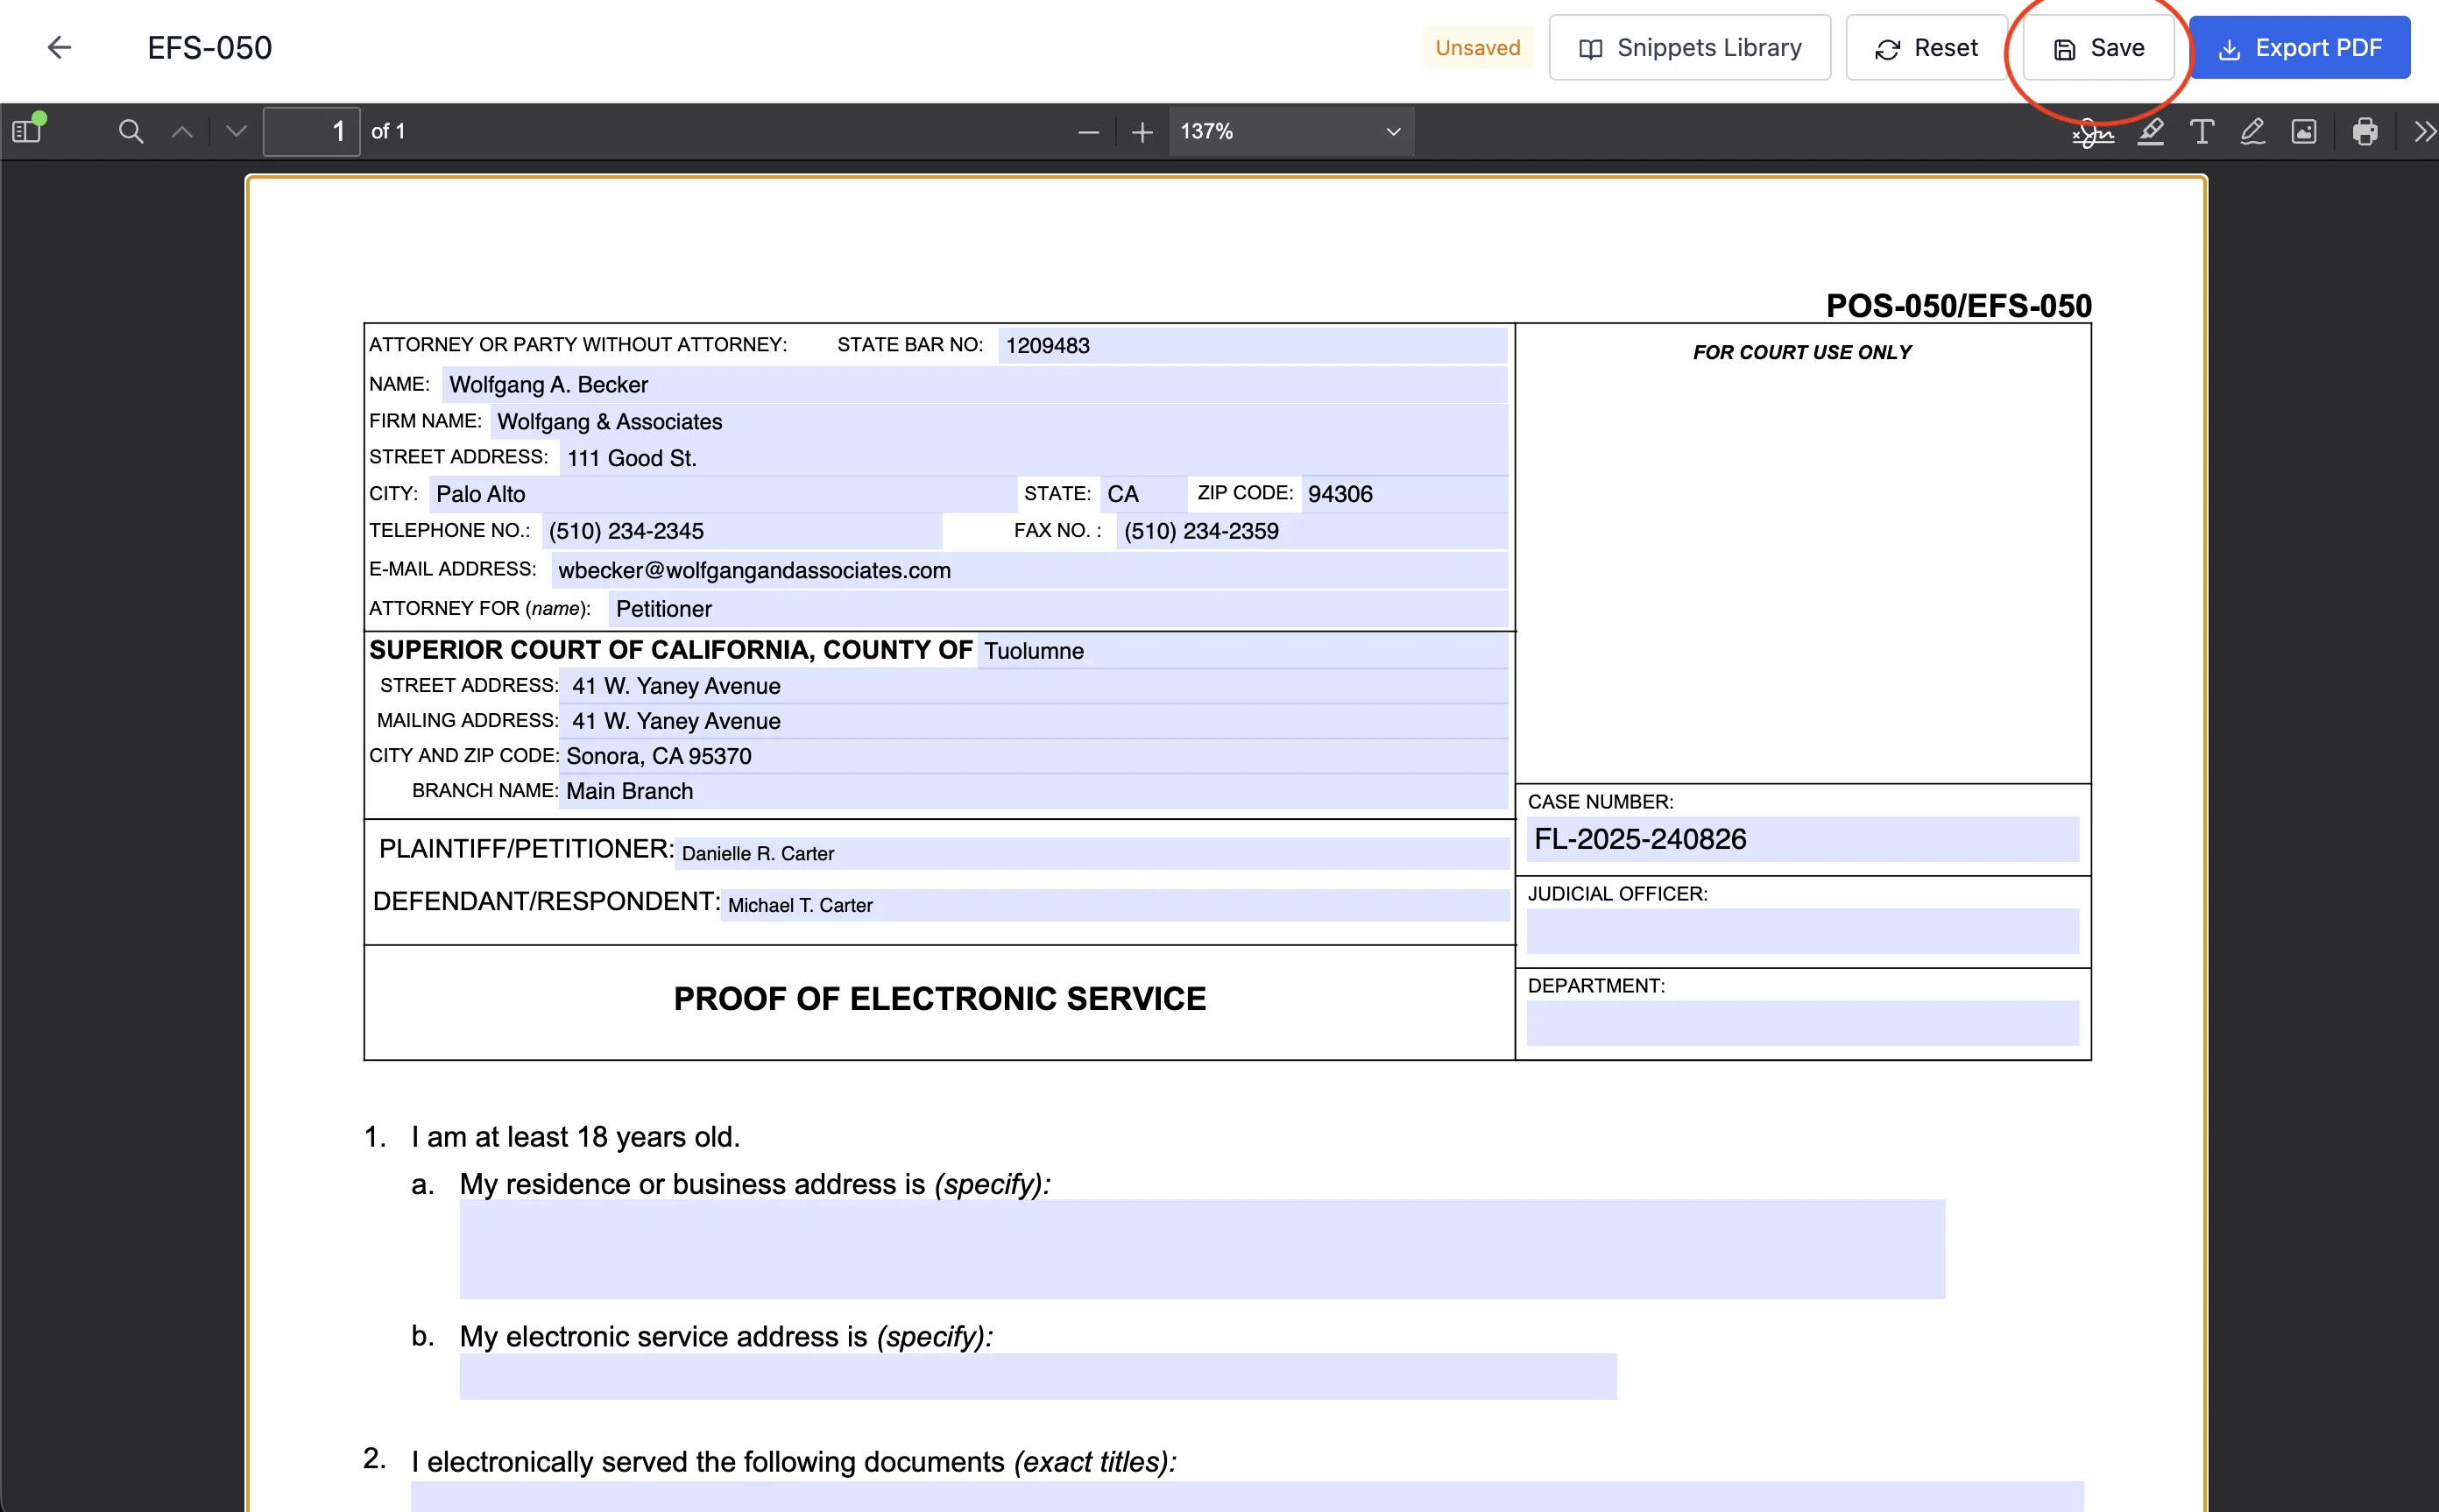
The form opens in the editor with your client and case data already filled in. - Fill in the rest of the fields, then click Save. Your work also auto-saves as you go.
- Click Export PDF. The finished form lands under Generated Forms on the case page, where you can reopen it anytime.